- Free account and digital card.
- Up to +1% interest.¹
- Stay on budget, save, and invest with ease.
The smarter way to bank.
Earn rewards on your daily spending.
Get the first SAS EuroBonus Lunar debit card and start earning travel rewards.
¹The interest rate depends on the plan you choose. Interest is variable, calculated annually, and paid out monthly. To be eligible to receive interest on your deposit, you must link your NemKonto to one of your Lunar accounts.
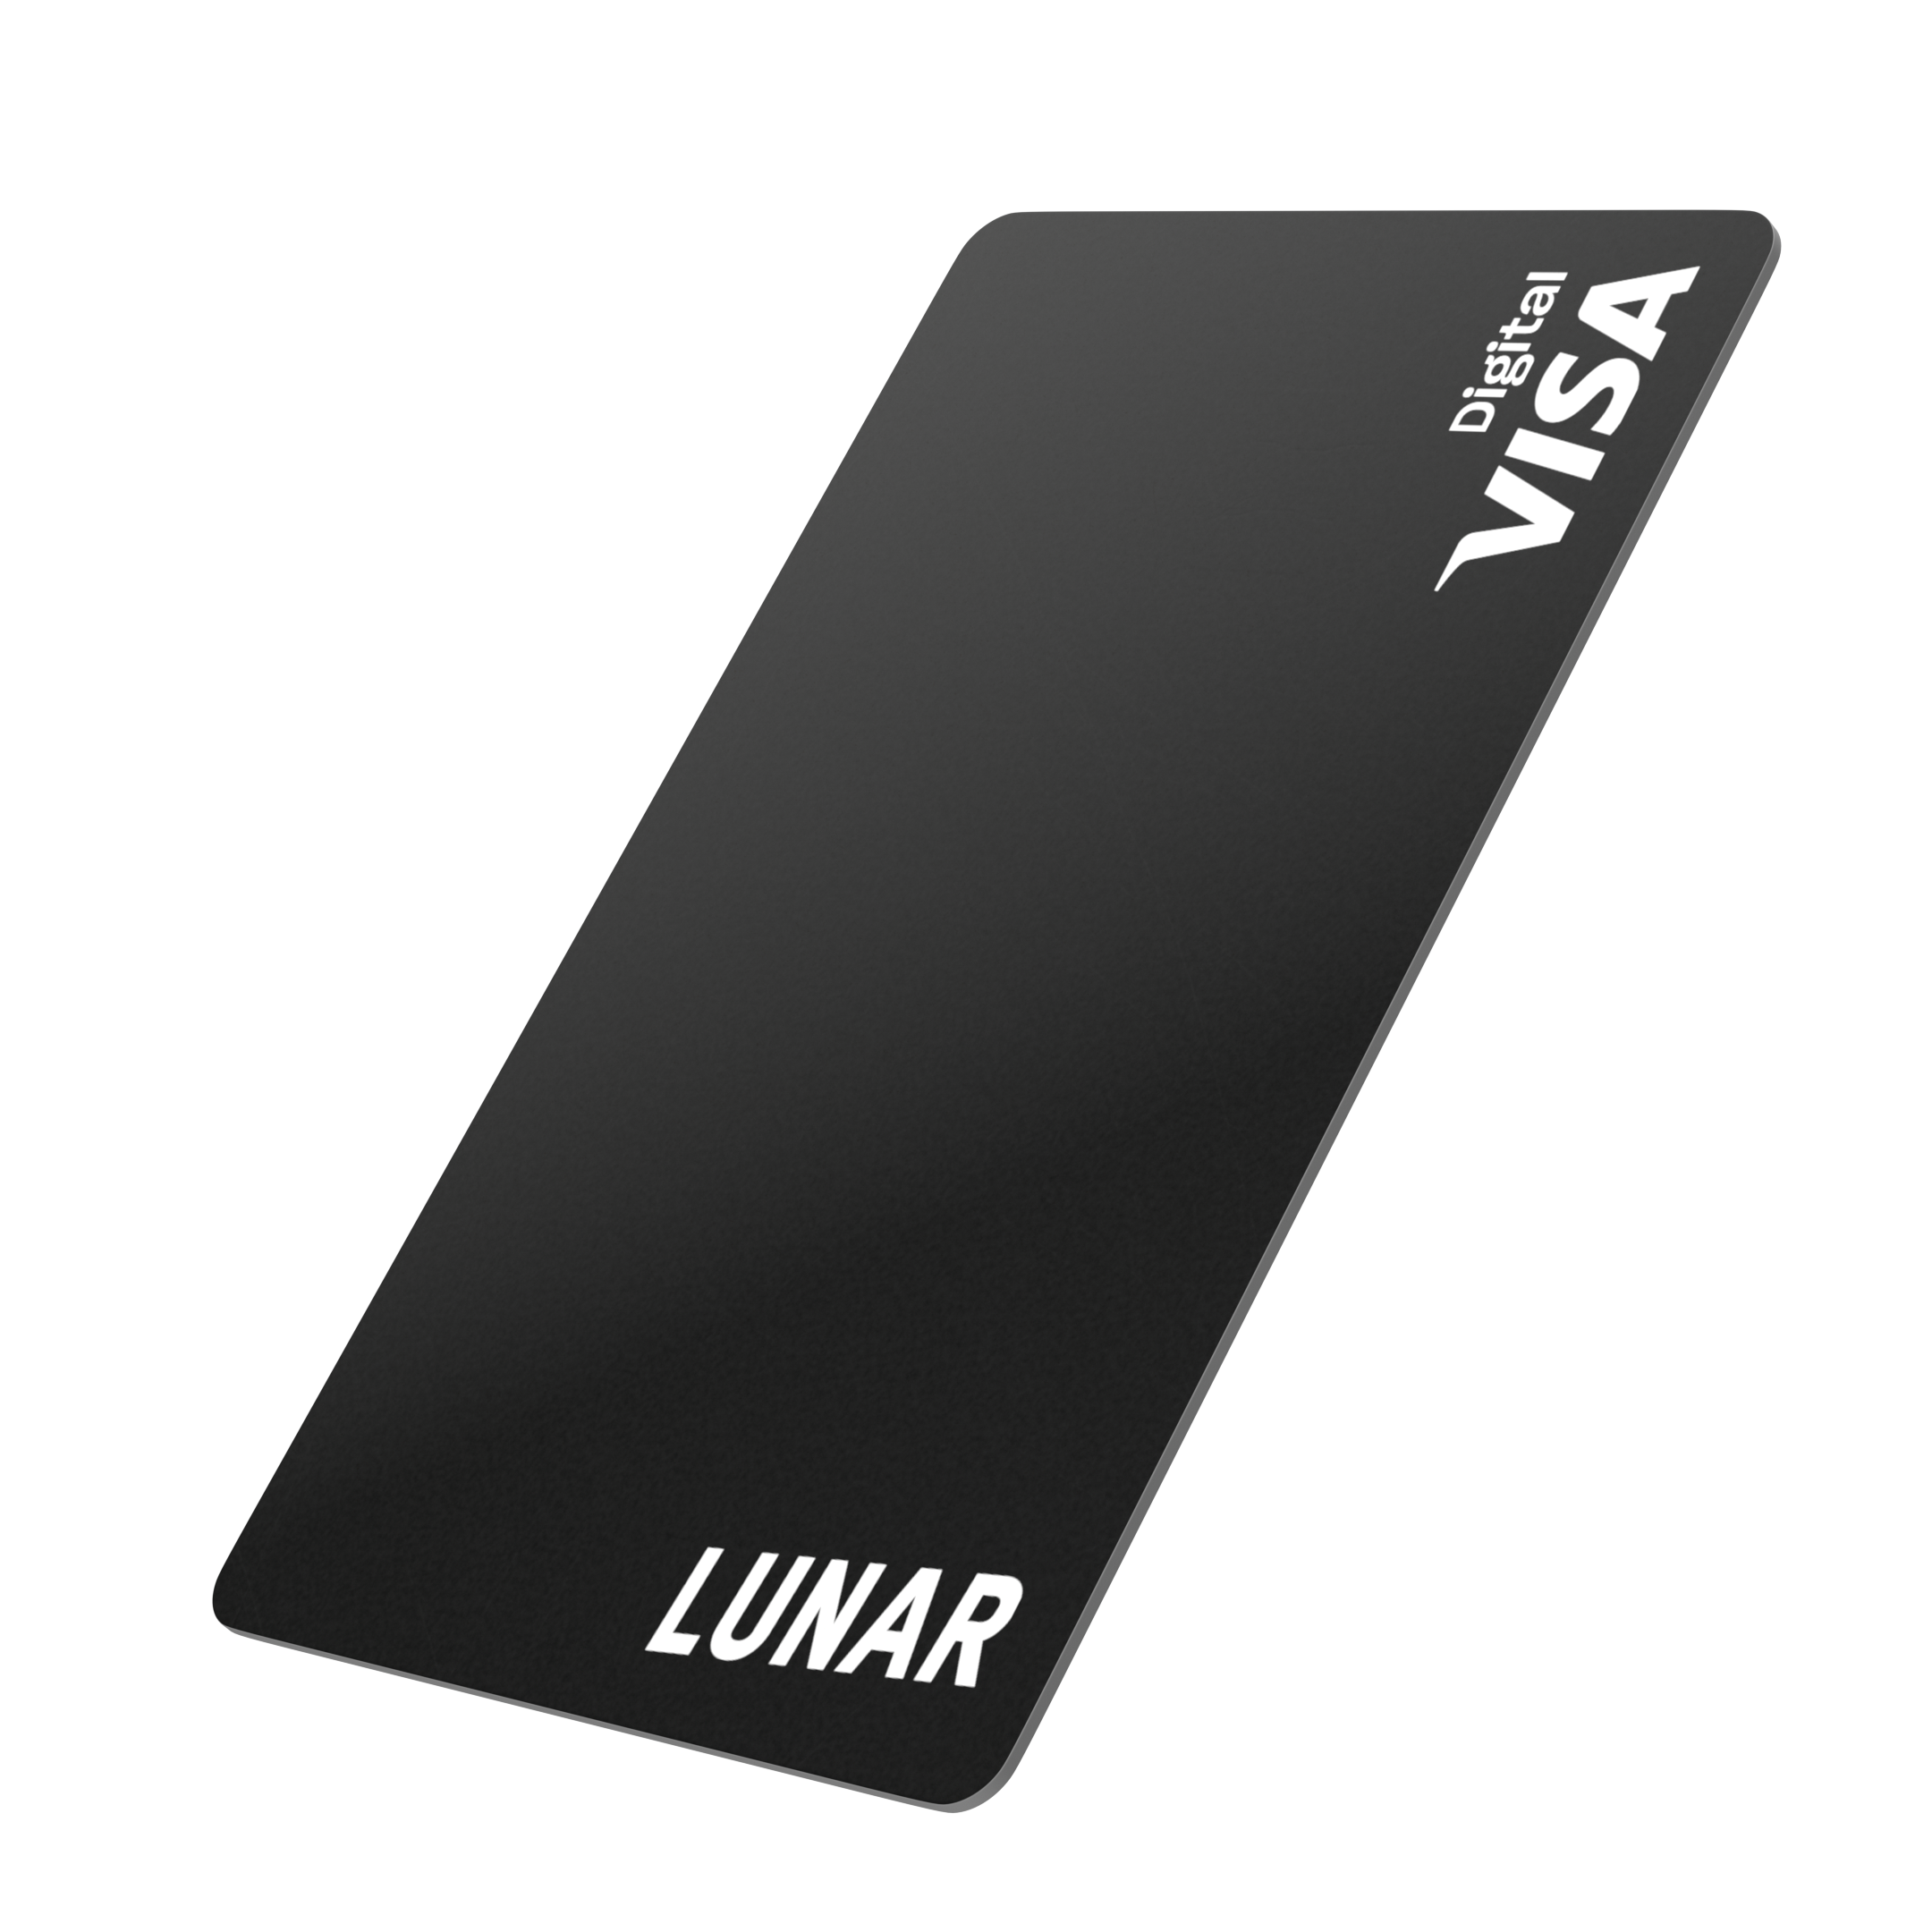
Free account and digital card.
Get your free account and digital card today. Apply from your phone in minutes.
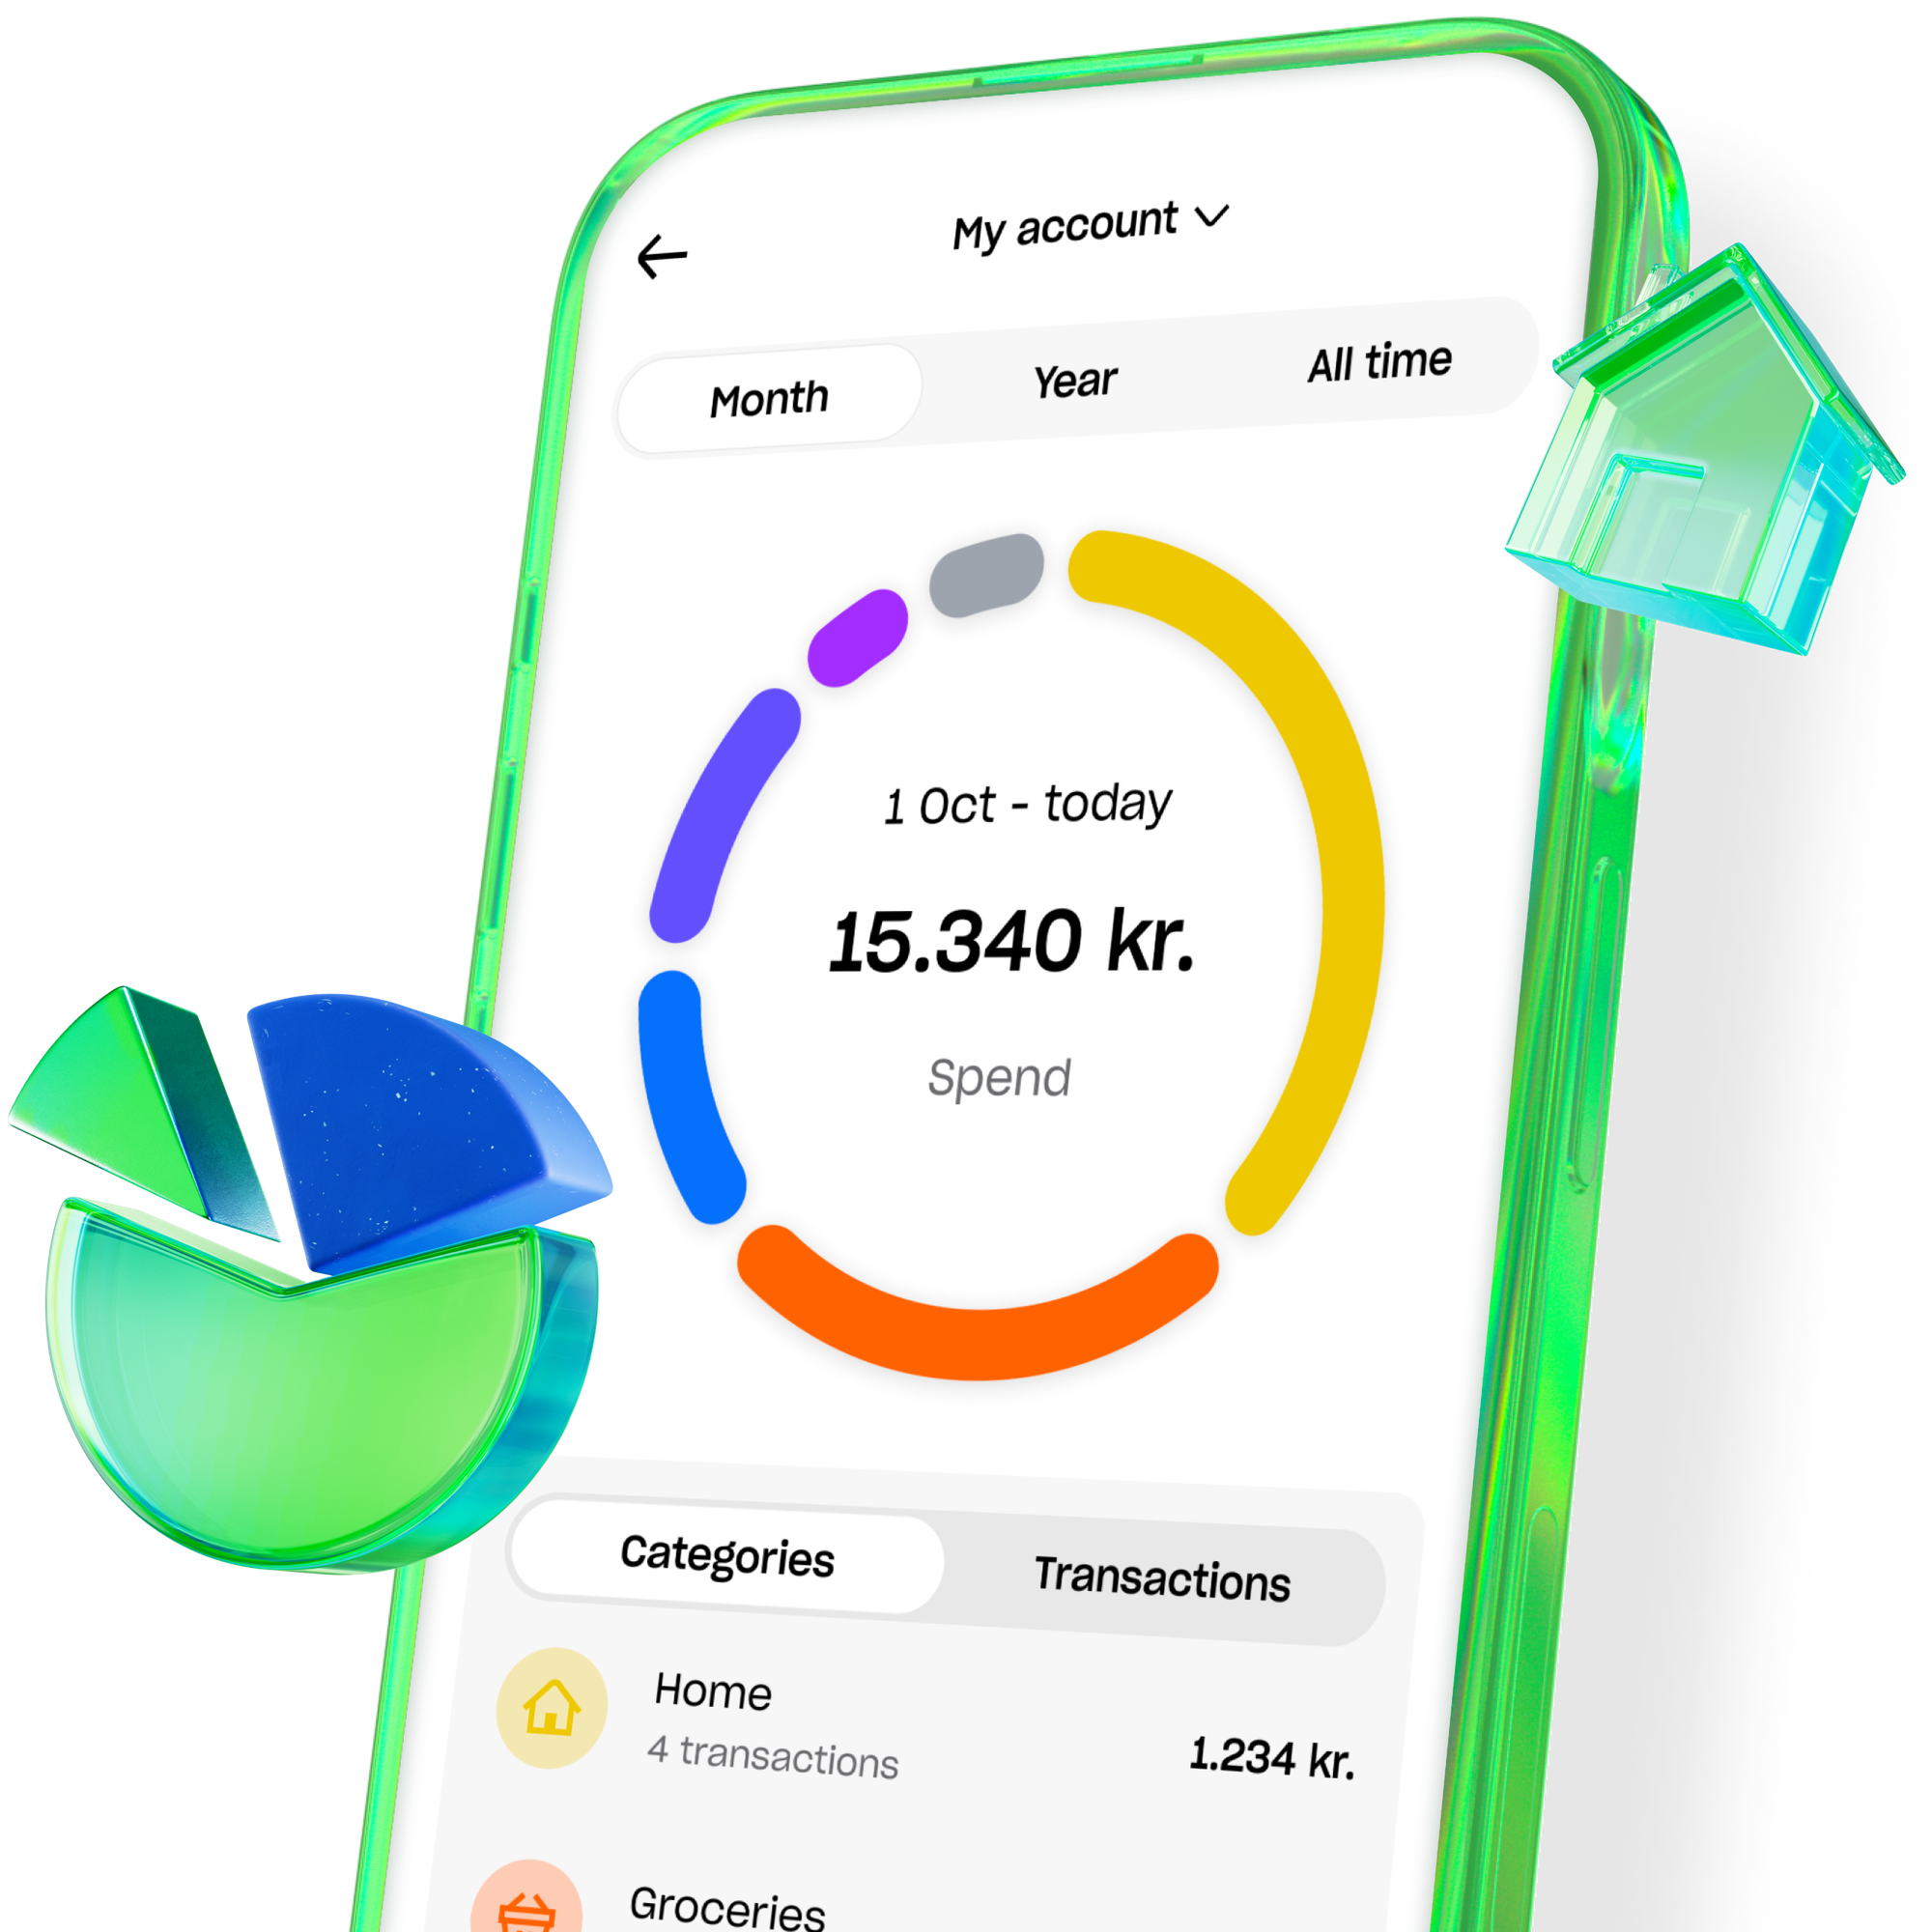
Stay on top of your money.
- Gain control with the ultimate overview.
- Keep your budget in check to avoid overspending.
- Save every time you use your card.
There's no limit to your interest.
All our plans offer positive interest. Paid every month. Earn up to +1% with Lunar Plus and Unlimited - regardless of your balance.¹
Make travel memories. Forget fees.
Say goodbye to exchange and withdrawal fees worldwide.² Get travel insurance from Tryg and travel with peace of mind. All with Lunar Plus and Unlimited.
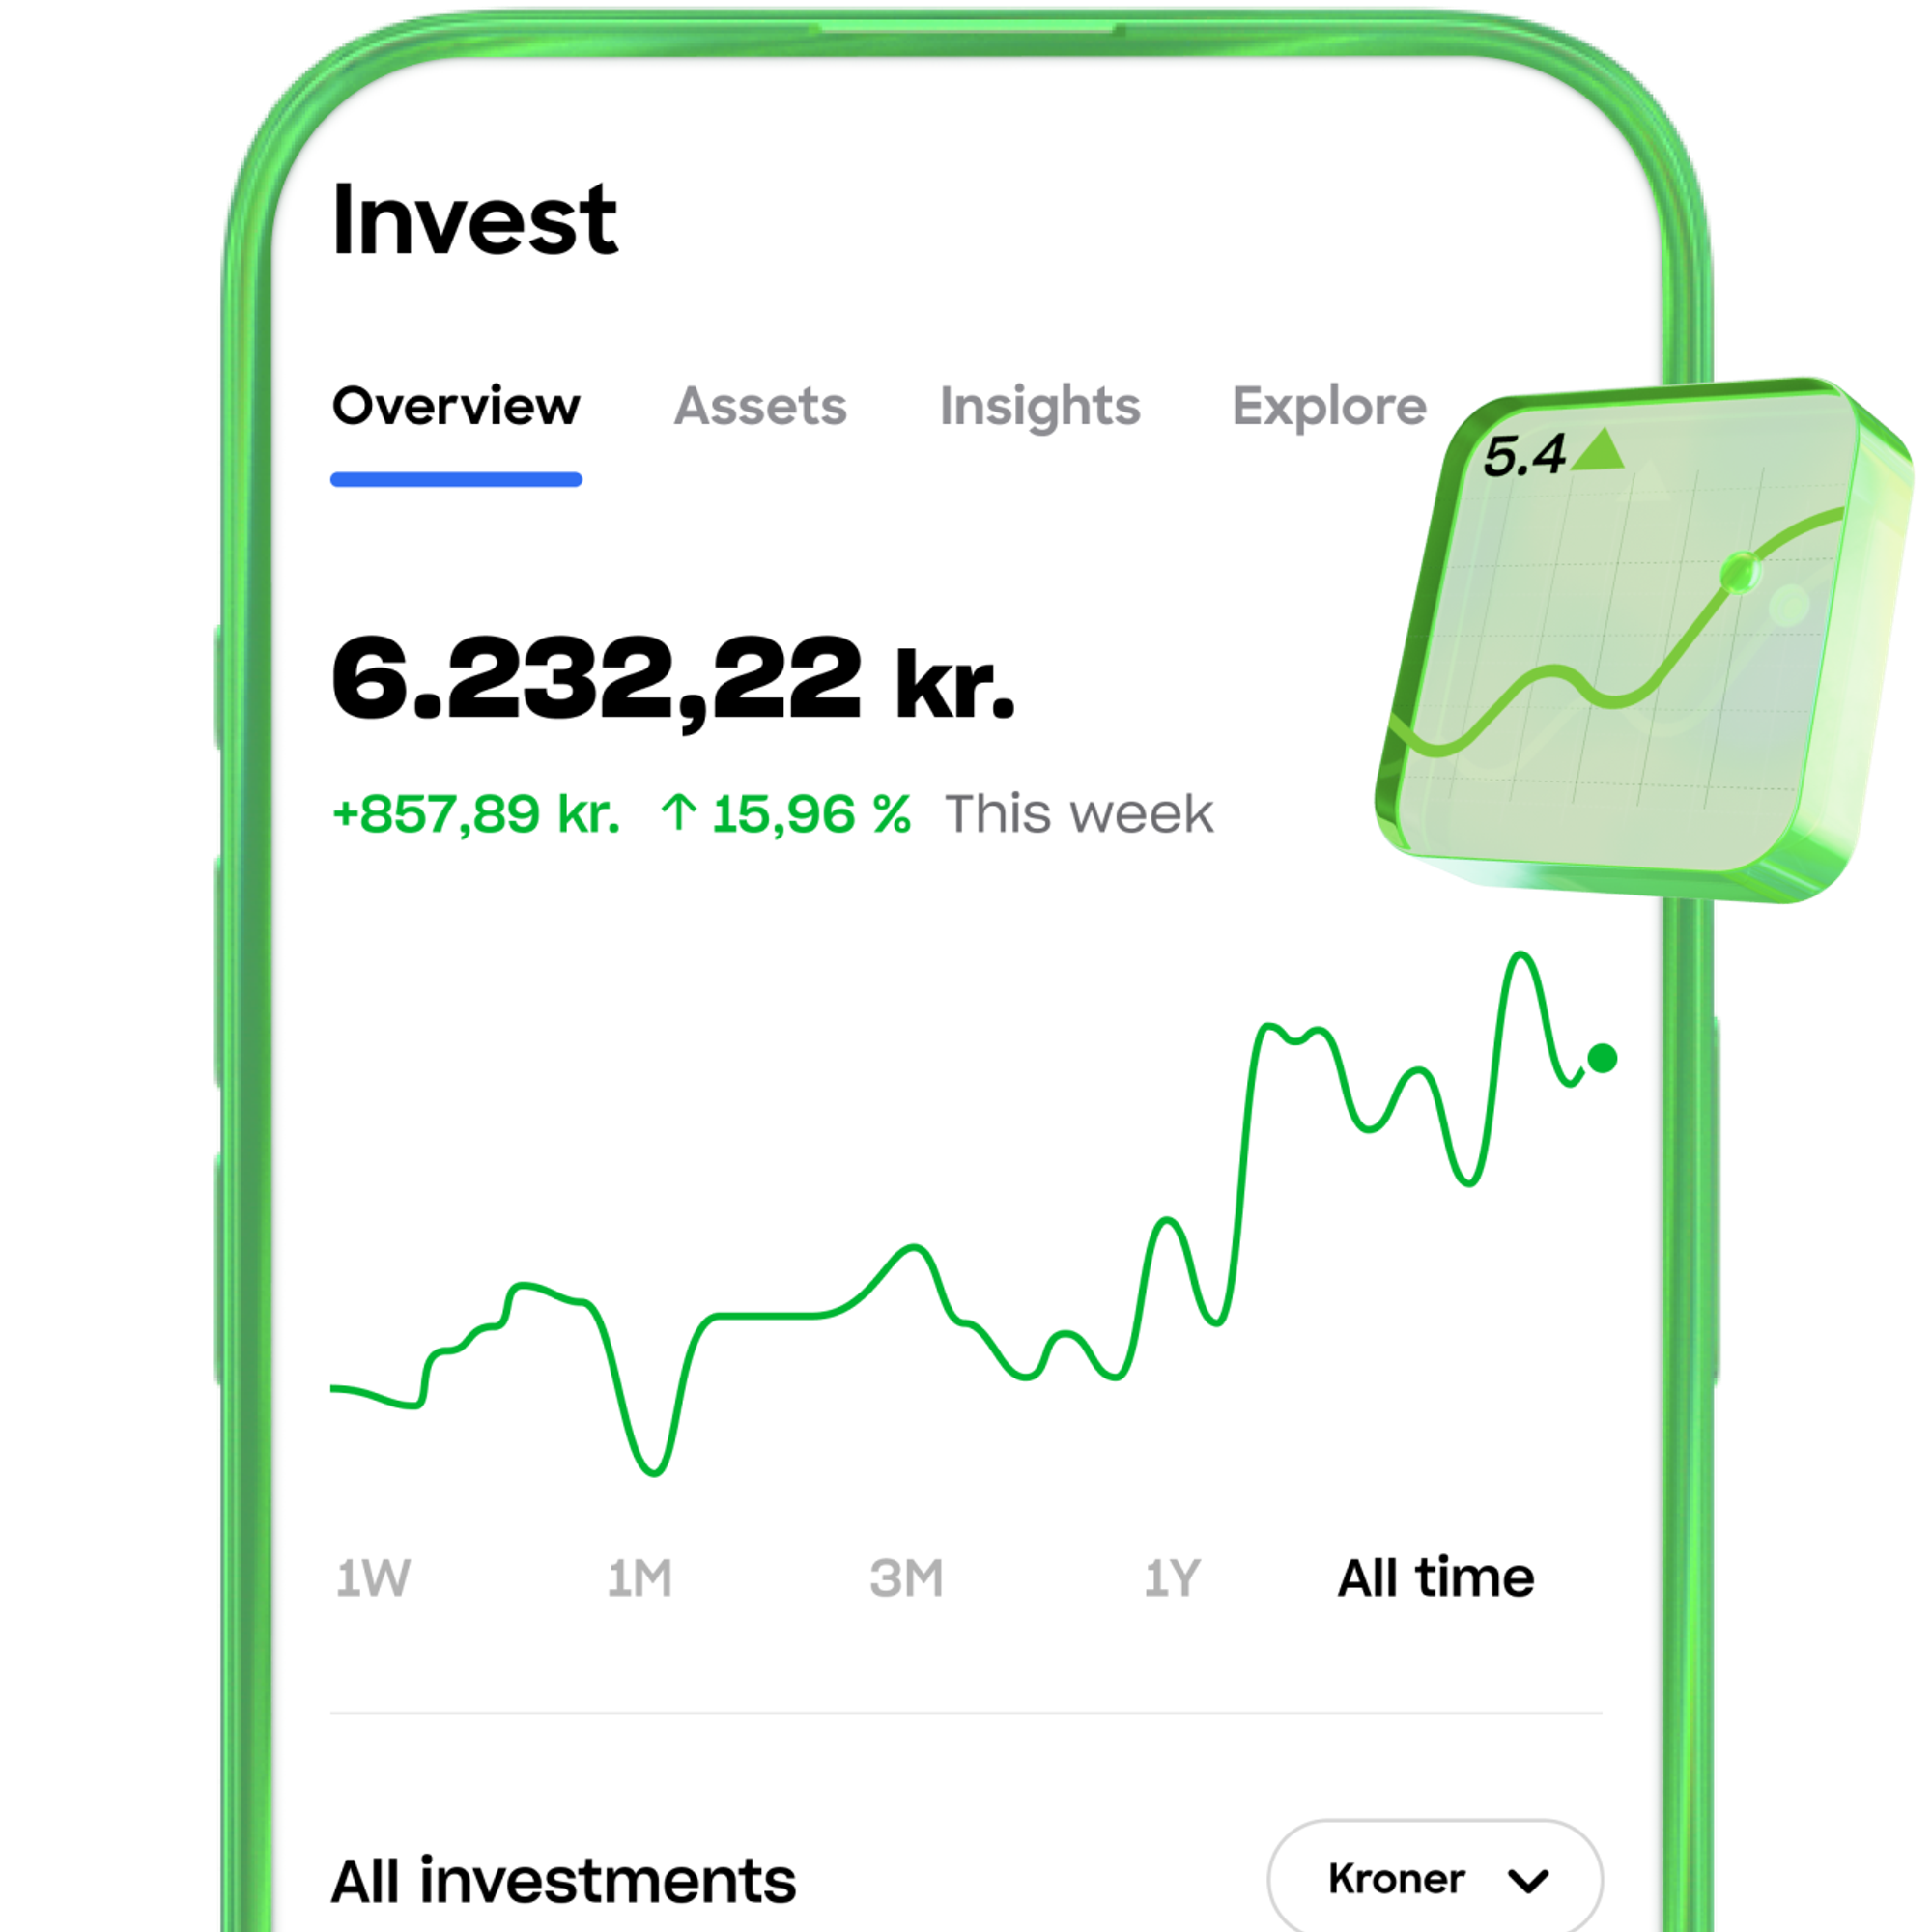
Invest with ease.
We've made investing in stocks simple and affordable for everyon³. Trade with low commission and begin your investment journey today.
Start buying crypto, safe and easy.
With Lunar Block, it's simple to get started with crypto.⁴ Trade on a Danish and transparent platform. Here, crypto is for everyone.
²Please be aware that foreign financial institutions may charge a fee when you withdraw cash, or may impose a currency exchange fee for card transactions. This is not associated with Lunar.
³Investment involves risk.
⁴When you trade cryptocurrency, you have to be aware that all trading involves a risk. The value of cryptocurrency can go both up and down, and in some cases, you may lose the entire amount you have purchased cryptocurrency with. Cryptocurrency trading is done through Lunar Block. Lunar Block is not regulated by the Danish Financial Supervisory Authority (Finanstilsynet). That means you won’t have the same protection as when trading e.g. stocks or other regulated assets.
Make a statement.
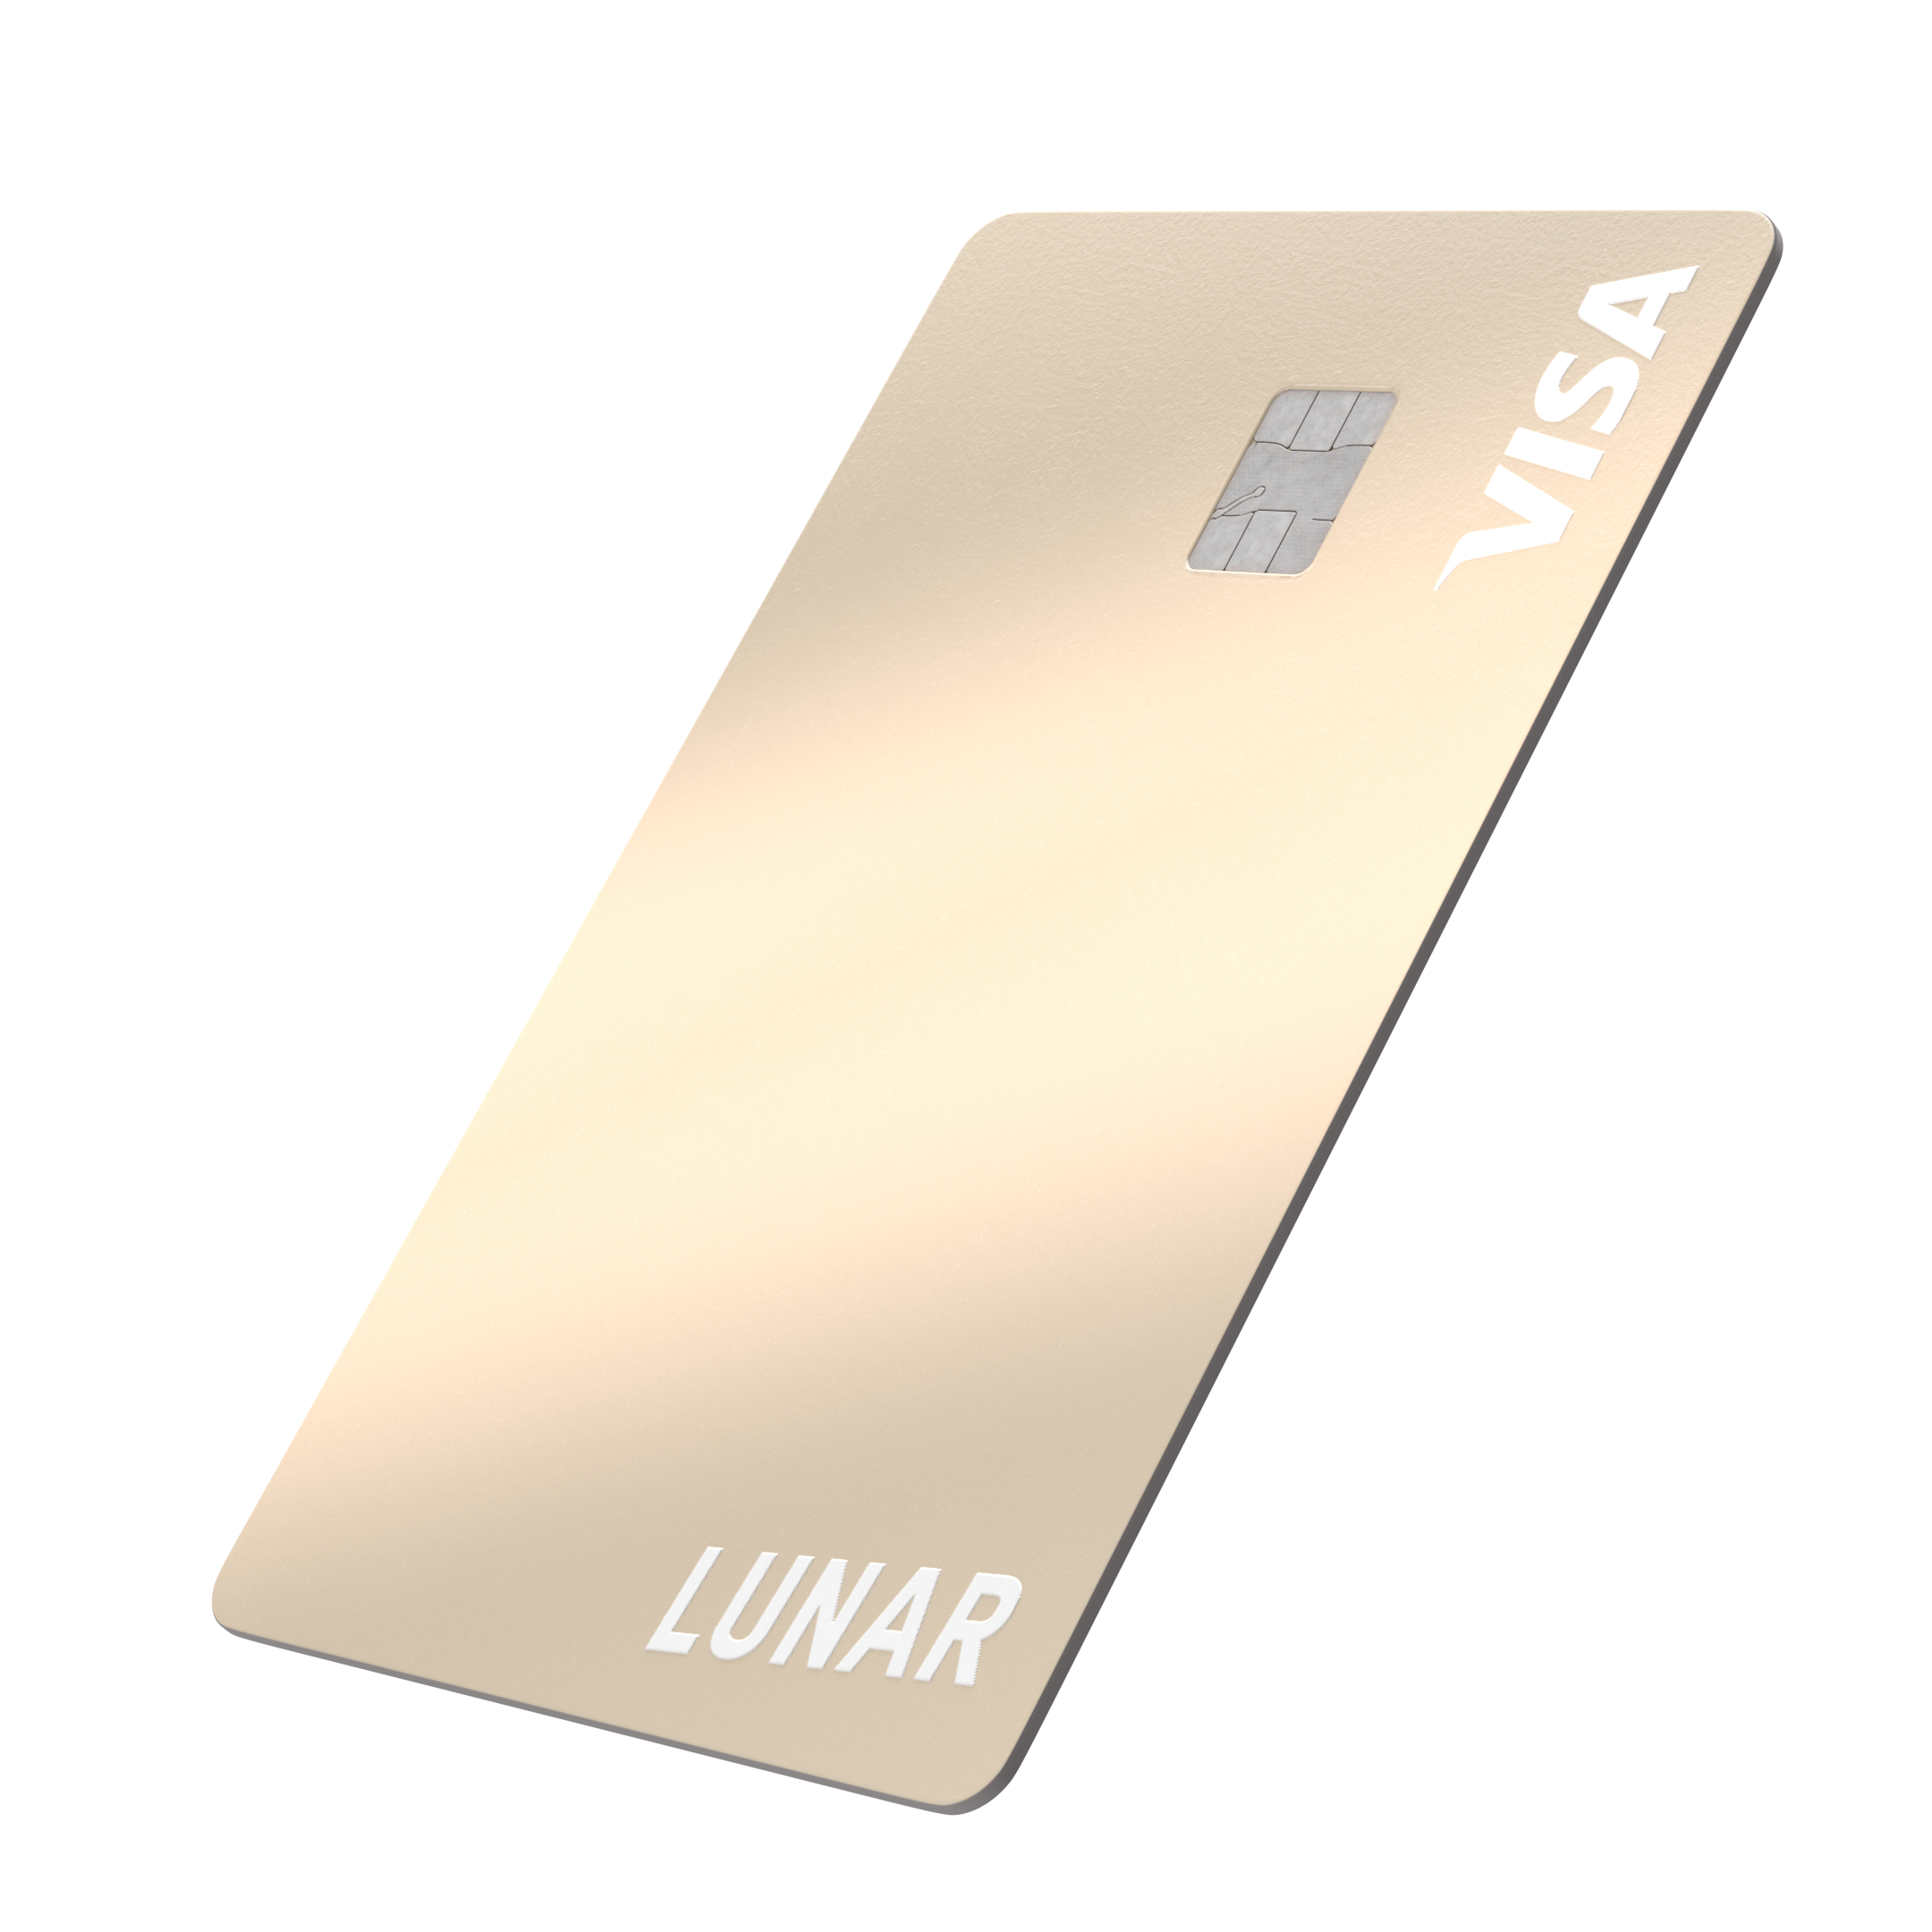
Get an exclusive metal card with custom laser engraving, unlimited accounts, and a +1% interest rate.**
Say hello to Lunar AI Assistant:
Your personal financial assistant.
A Danish bank where you can feel safe.
- We’re a Danish bank with a banking license, supervised by the DFSA.
- Your money is secured by the Guarantee Fund up to 100,000 EUR (approx. 750,000 DKK).
- 1,000,000 users have already chosen us. They rate us ‘excellent’ on Trustpilot.
Find your ideal plan.
Find your ideal plan.
Choose from four unique plans. Only pay for what you need. No hidden fees - just fair, transparent prices.
Light
0 DKK /month
A free account catering to all your basic needs.
- No-cost account with a free digital card and basic tools for easy money management.
Standard
39 DKK /month
Tools tailored for your day-to-day finances. Manage your money smarter.
Everything Light has to offer – and more:
- 3 accounts with physical and digital cards.
- Automatic savings, Joint account, budgeting by category, and so much more.
- +0.25% interest on up to 100,000 DKK.*
- Most popular
Plus
79 DKK /month
Multiple accounts and travel benefits that make life a little easier at home and abroad.
Everything Standard has to offer – and more:
- 6 free accounts with physical and digital cards, including access to Lunar Youth.
- Worldwide travel insurance from Tryg.
- No withdrawal or exchange fees.***
- +0.50% interest on your entire balance. Interest is variable, calculated annually and paid out monthly.**
Unlimited
139 DKK /month
Get a personalized metal card, our highest interest rate, and a SAS EuroBonus Lunar card.
Everything Plus has to offer – and more:
- An unlimited number of accounts with physical and digital cards.
- SAS EuroBonus Lunar card included.
- A stand-out metal card with personalised laser engraving.
- Extended travel insurance with Tryg.
- +1% interest on your whole balance. Interest is variable, calculated annually and paid out monthly.**
* For amounts above 100,000 DKK, the interest rate is 0%. Interest is variable, calculated annually, and paid out monthly.
**Interest is variable, calculated annually, and paid out monthly. To be eligible to receive interest on your deposit, you must link your NemKonto to one of your Lunar accounts.
***Note that foreign financial institutions may charge a fee when you withdraw cash, and card issuers may charge an exchange fee for card transactions. This is not associated with Lunar.
Join Lunar and bank smarter like 1,000,000 others.
Sign up in minutes.
Sign up in minutes.
Frequently asked questions.
What is Lunar?
We're a 100% digital bank with no physical branches. Built to help you manage your money smarter and easier.
Since our founding in 2015, our mission has been to challenge and improve the traditional banking sector. Or, in other words: To create a better banking experience – always focusing on our users' needs."
We have our banking license in place and are supervised by the Danish Financial Supervisory Authority, like all other Danish banks. Your money is covered by the Guarantee Fund up to 100,000 EUR (approx. 750,000 DKK).
What are the benefits of Lunar being a digital bank?
How fast can I get started with Lunar?
Do I need to switch banks to get Lunar?
Does Lunar offer a basic deposit account?
How safe is it to use Lunar?
***All Trustpilot reviews are verified by Trustpilot based on an email sent to the user. The reviews are selected by Lunar.


