
Paylike dashboard guide
Here you can find our short guide on how to get started with Paylike and how to use its functions to your full benefit.
1. Getting started
You will see the following after logging into the Paylike dashboard for the first time:

As you can see on the image, you have the option to create a new account right away. You can consider creating a test account first to try all of Paylike’s features without doing live transactions.
IMPORTANT: You are not able to receive actual payments to a test account. Transactions displayed here are merely simulations without any funds being transferred in real life. In order to accept live transactions, you must use a live account.
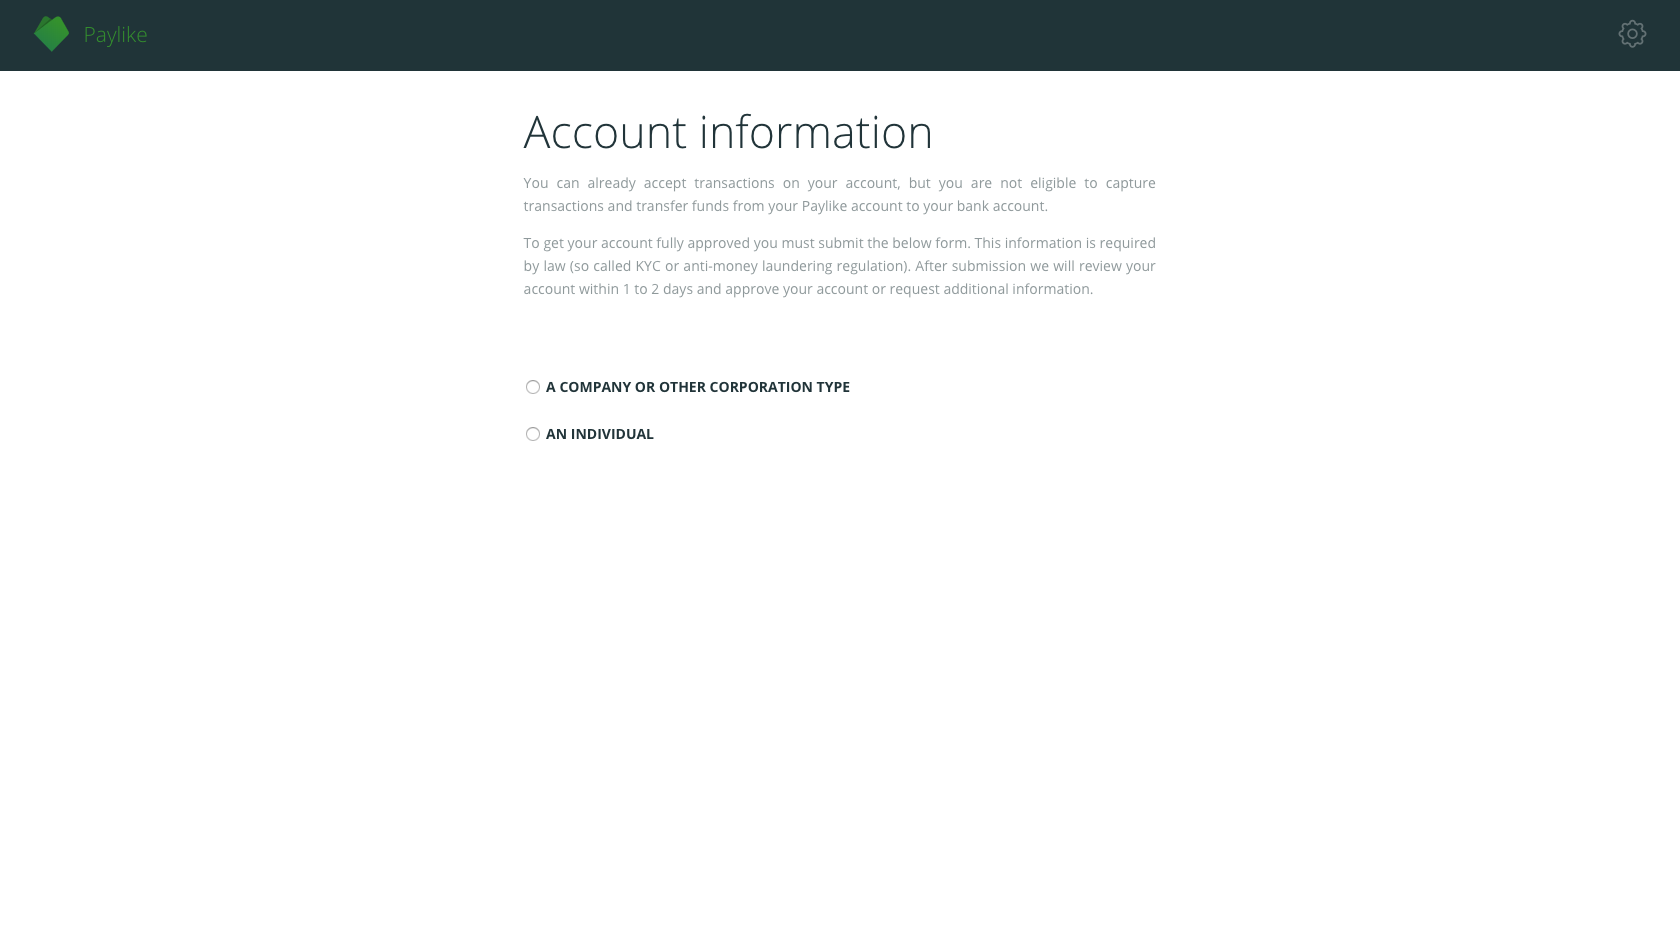
2. Creating a live account
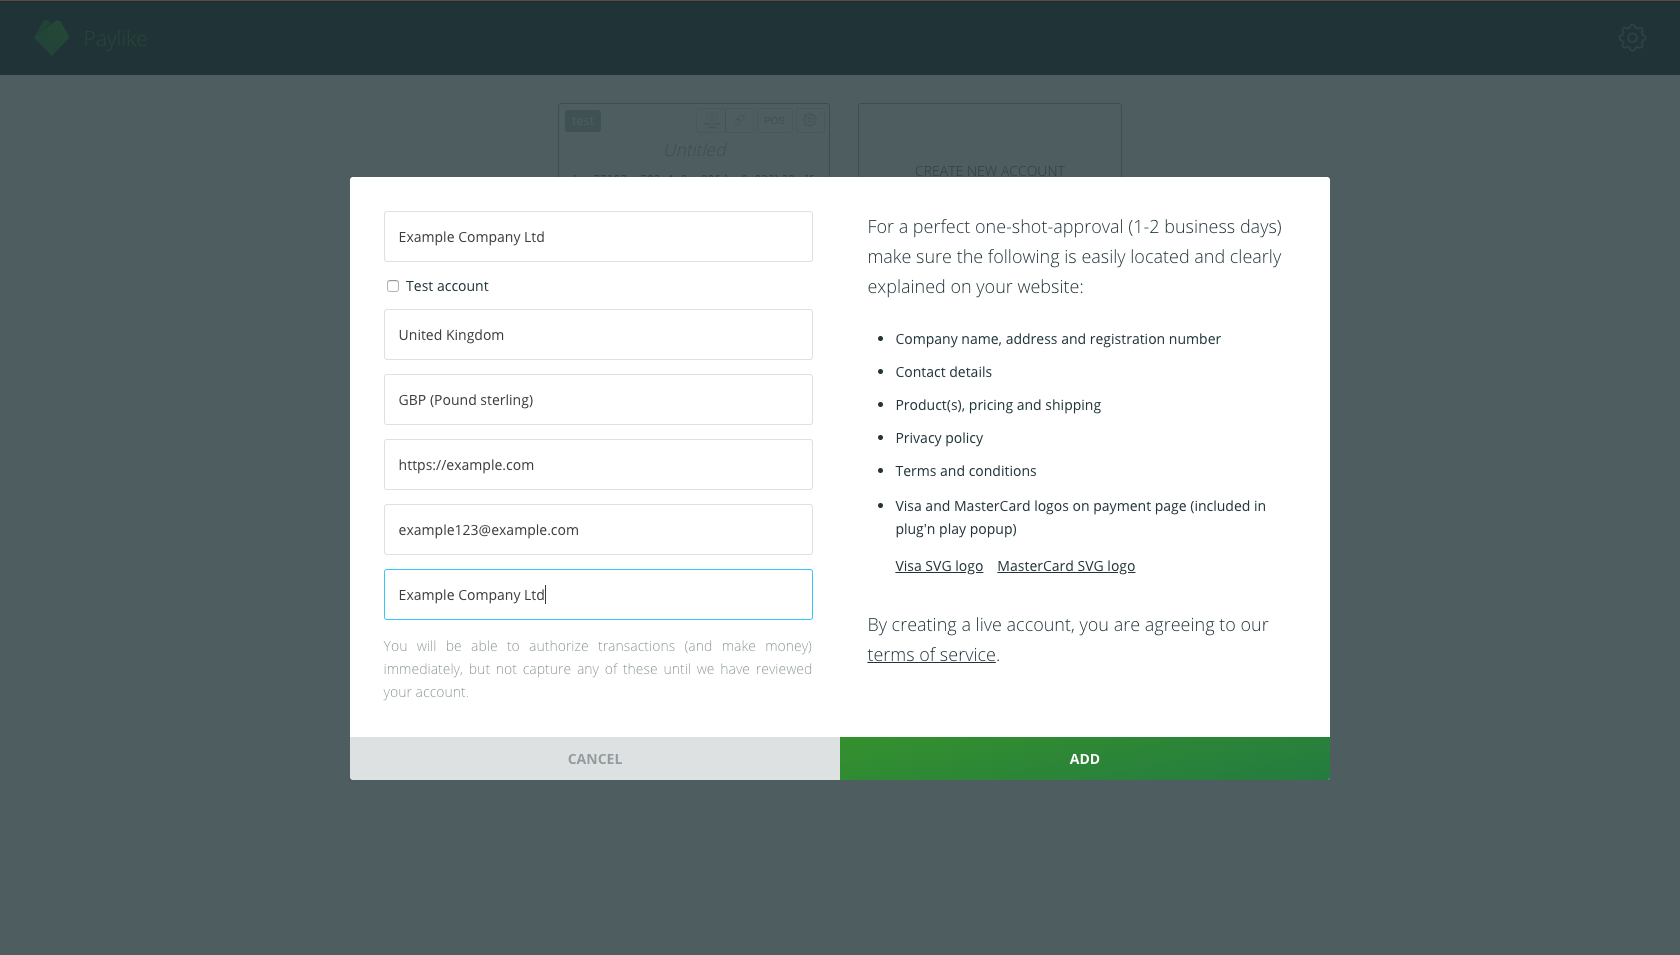
Click on the “CREATE NEW ACCOUNT” option to access the registration form for account opening. Here you can setup your Paylike account based on your business needs.
You can set the name of the account, settlement currency, contact email and descriptor along with your business information such as country of incorporation and website URL.
A correctly filled out setup form looks like this:
-
The “Name (optional)” field refers to the name of the Paylike account.
-
The “Country of registered company” is the country where the business is located, both for companies and private individuals.
-
Under the “Select payout currency” option, you can set the currency in which you wish to receive your settlements. Please note that this option cannot be changed later on and you need a separate account in case you want to receive payouts in a different currency.
-
The “Website” field should contain the URL of your website where you wish to use Paylike. In case of multiple websites, you must create a separate live account for each domain.
-
The “Contact email” is the one Paylike will use for further communication regarding the account such as settlement notifications or similar. It is set by default to the email used for signing up.
-
The “Descriptor” refers to the identifying text that will appear on your customer’s bank account statement after the payment. We recommend to use your business’ trading name here, one your customers can easily recognise, the name of your website for example.
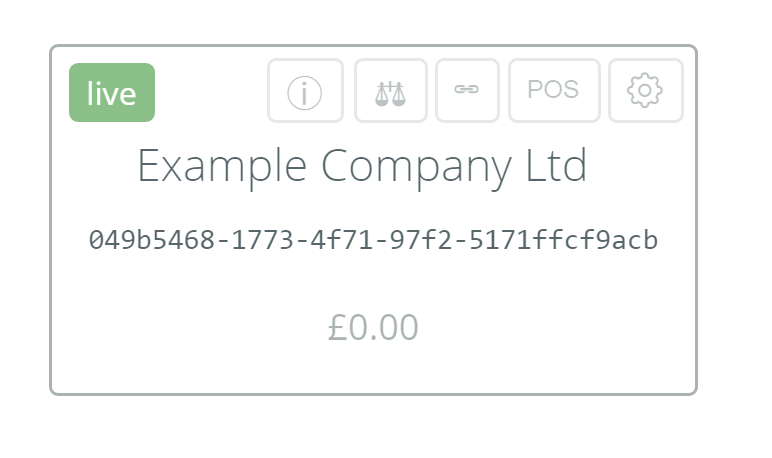
After you have created your first live account, you will see the following on the dashboard:
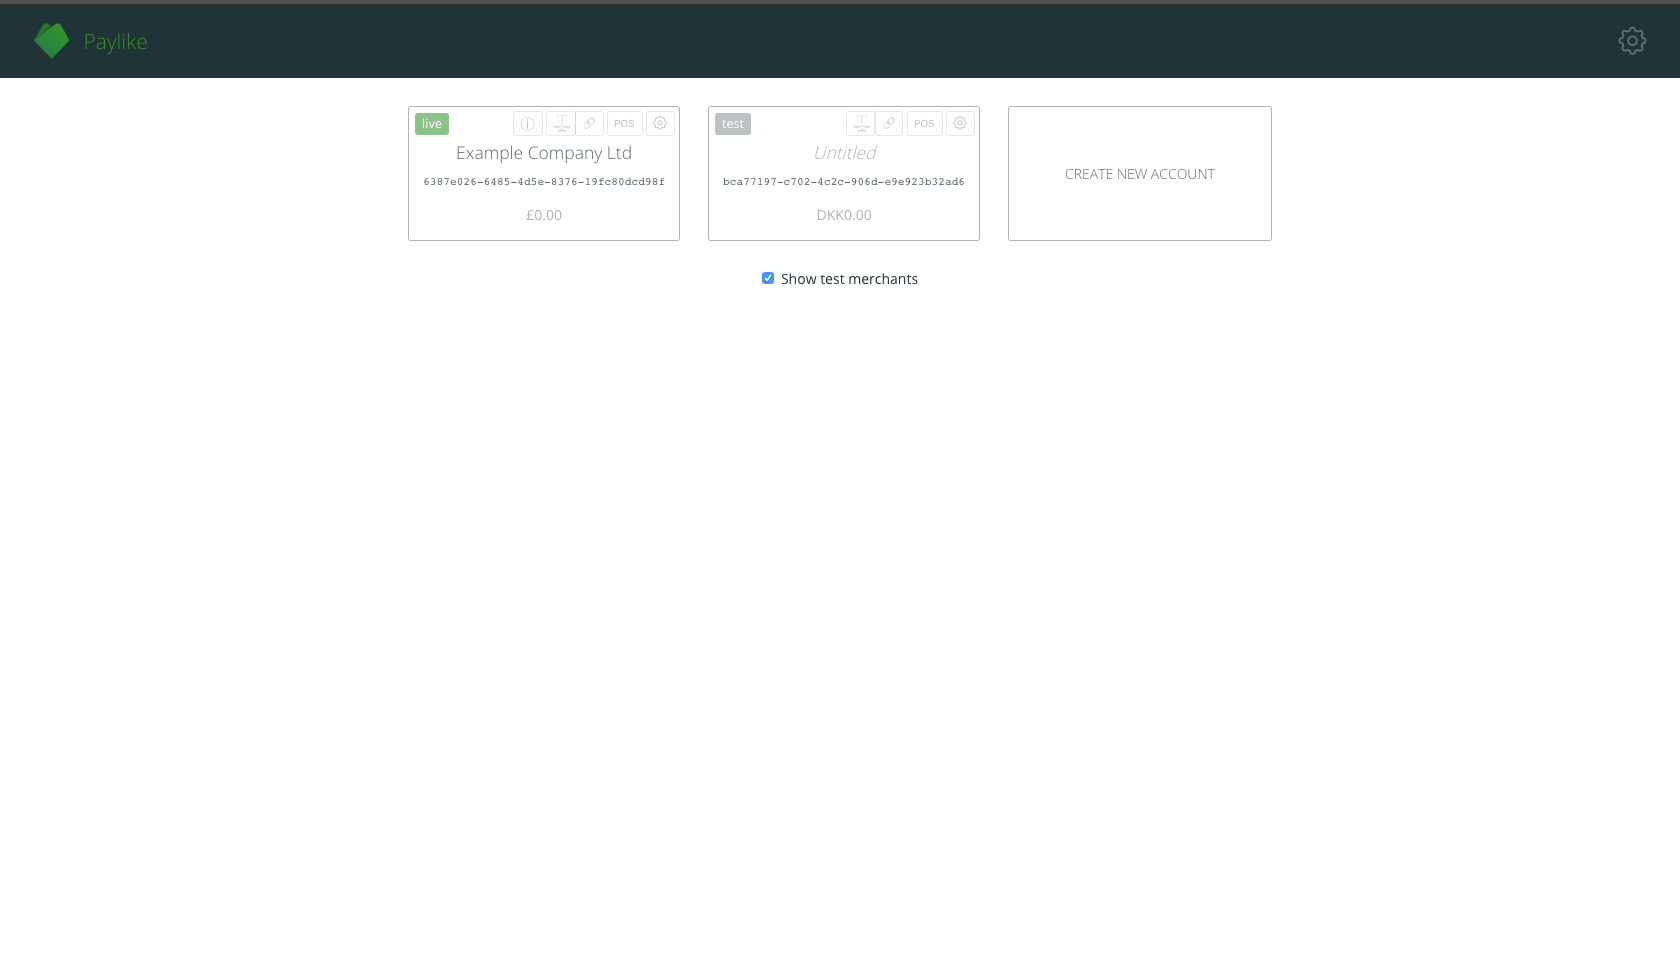
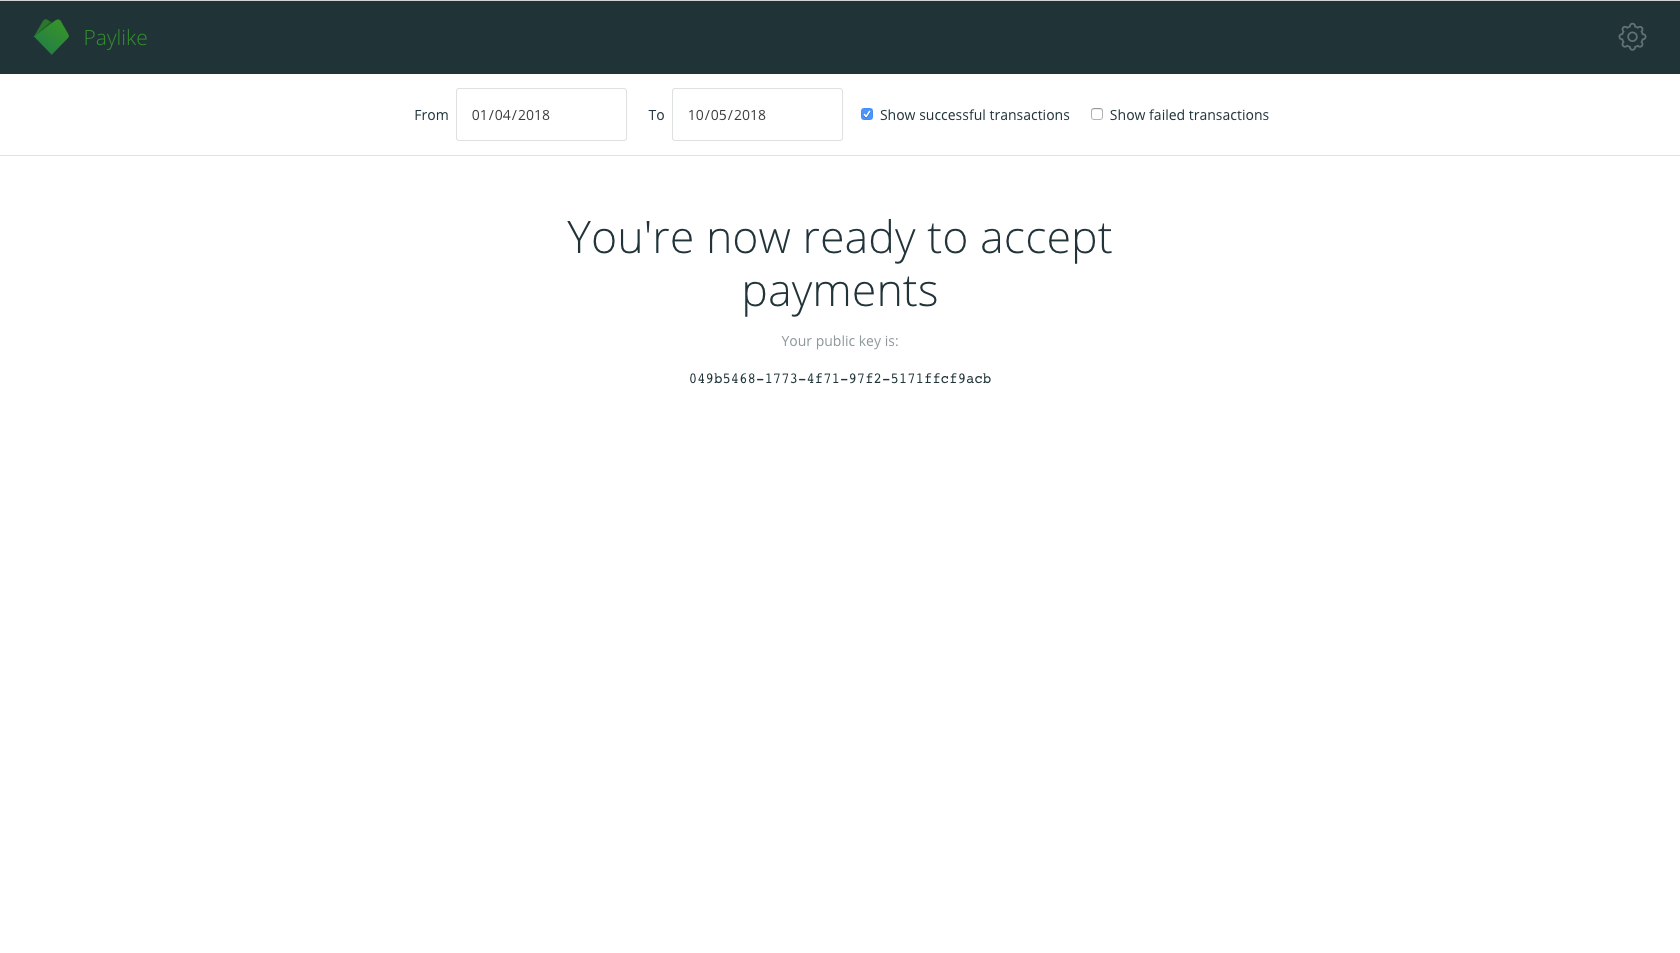
3. Your account is live
Once you have created your account, it’s already functional and ready to accept payments, while the account approval takes place in the background.
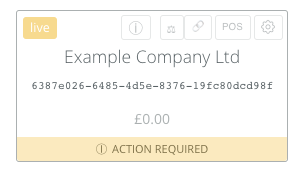
To have your account approved for capturing transactions and receiving payouts, you can click the yellow “ACTION REQUIRED” field on the bottom of the account to see the instructions regarding the next steps.
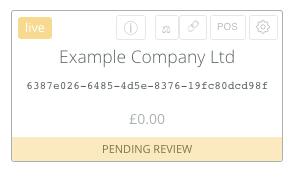
After making the requested action, you will be presented with the “PENDING REVIEW” status which means that you can sit back and wait for the account approval to finish. The process takes 1-3 business days on average.
When the account is approved, the “LIVE” icon on the upper left corner becomes green and you are ready to use all of the functions and receive payouts.
4. The functions of the Paylike account
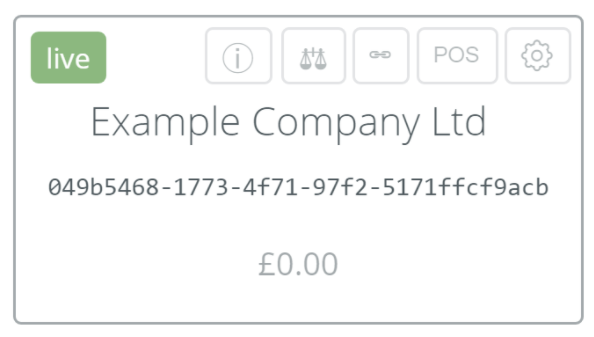
Taking a closer look to the live account, you have six options:
- Clicking on the account itself will display all transactions of a selected time period made to the account. Here you can void or capture transactions and issue refunds. Below you can see a live account without transactions.
- The “ⓘ” ( i ) icon refers the page where you can submit the additional business information required (company documents) to approve your account.
-
The “⚖️” (scale) icon allows you to view and download the account statement of a selected time period for accounting purposes.
-
The “🔗” (link) icon opens the payment link form which you can use to create a custom payment link.
-
The “POS” icon gives access directly to the virtual POS of your account.
-
The “⚙️” (gear) icon directs to the settings page to view and change the account settings. Your public key and app key are both displayed here. You can also invite other additional members to manage the account under the “Users” field.
5. Integration
Now that you've created a live account and understood the Paylike dashboard's basic functions, you’re ready to add Paylike to your website.
Integrating Paylike is just as easy as creating a live account. We release payment extensions on an ongoing basis for the most popular ecommerce platforms to ensure the quickest setup.
See the full list of the supported platforms and plugins here.
Alternatively, you can create a custom integration to your website by following our documentation here.
6. Managing transactions
You can start accepting payments right after you have successfully integrated Paylike to your business. Transactions can be authorized (reserved) without any pre-approval from our part.
Below you can find the short explanation of the terms used for card payments and the icons displayed on the dashboard. Read more about payment card transactions here.
Authorization - Reservation of the funds on the customer’s card before transferring them to your Paylike account.
Void - Cancellation of the authorization that removes the reservation of the funds.
Capture - Transferring the authorized amount from the customer’s card to your Paylike account.
Refund - Transferring the captured funds back to the customer’s card.
Actions:
![]() Capture the authorized transaction completely or partially. Marked as green on the transaction bar.
Capture the authorized transaction completely or partially. Marked as green on the transaction bar.
![]() Void the authorized transaction completely or partially. Marked as grey on the transaction bar.
Void the authorized transaction completely or partially. Marked as grey on the transaction bar.
![]() Refund a captured transaction completely or partially. Marked as yellow on the transaction bar.
Refund a captured transaction completely or partially. Marked as yellow on the transaction bar.
Too see the details of a transaction, simply click on the payment itself.
On the image below, you can see transaction examples for multiple scenarios.
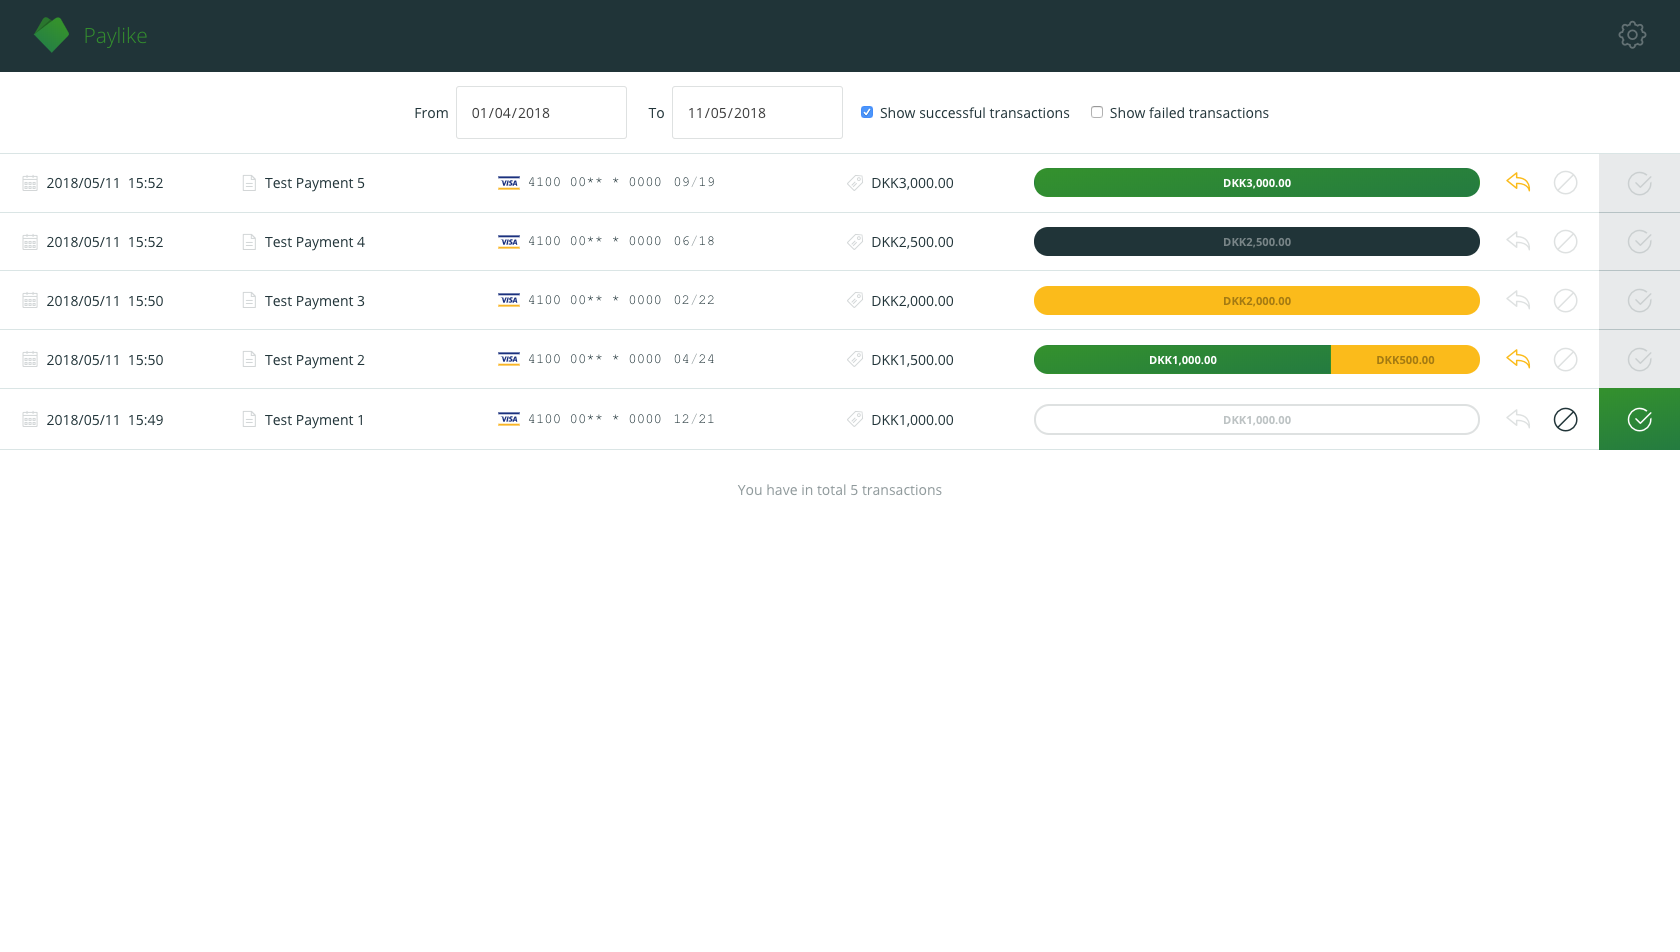
Test payment 1 is an authorized transaction that can be either captured or voided.
Test payment 2 is a transaction which has been fully captured then partially refunded. The remaining amount is still refundable.
Test payment 3 is a completely refunded transaction. No further action can be performed here.
Test payment 4 is a completely voided transaction. No further action can be performed here.
Test payment 5 is a completely captured transaction. It can be partially or completely refunded.
Hopefully the above guide has helped you to familiarise yourself with the Paylike dashboard and its functions.
If you are looking for additional information, you can see our frequently asked questions here or reach out to our support team through hello@paylike.io.