osCommerce plugin

Features
Fully integrated with the osCommerce backend
Instant and delayed capture
Full and partial refunds
Void transactions
3-D Secure
Steps:
-
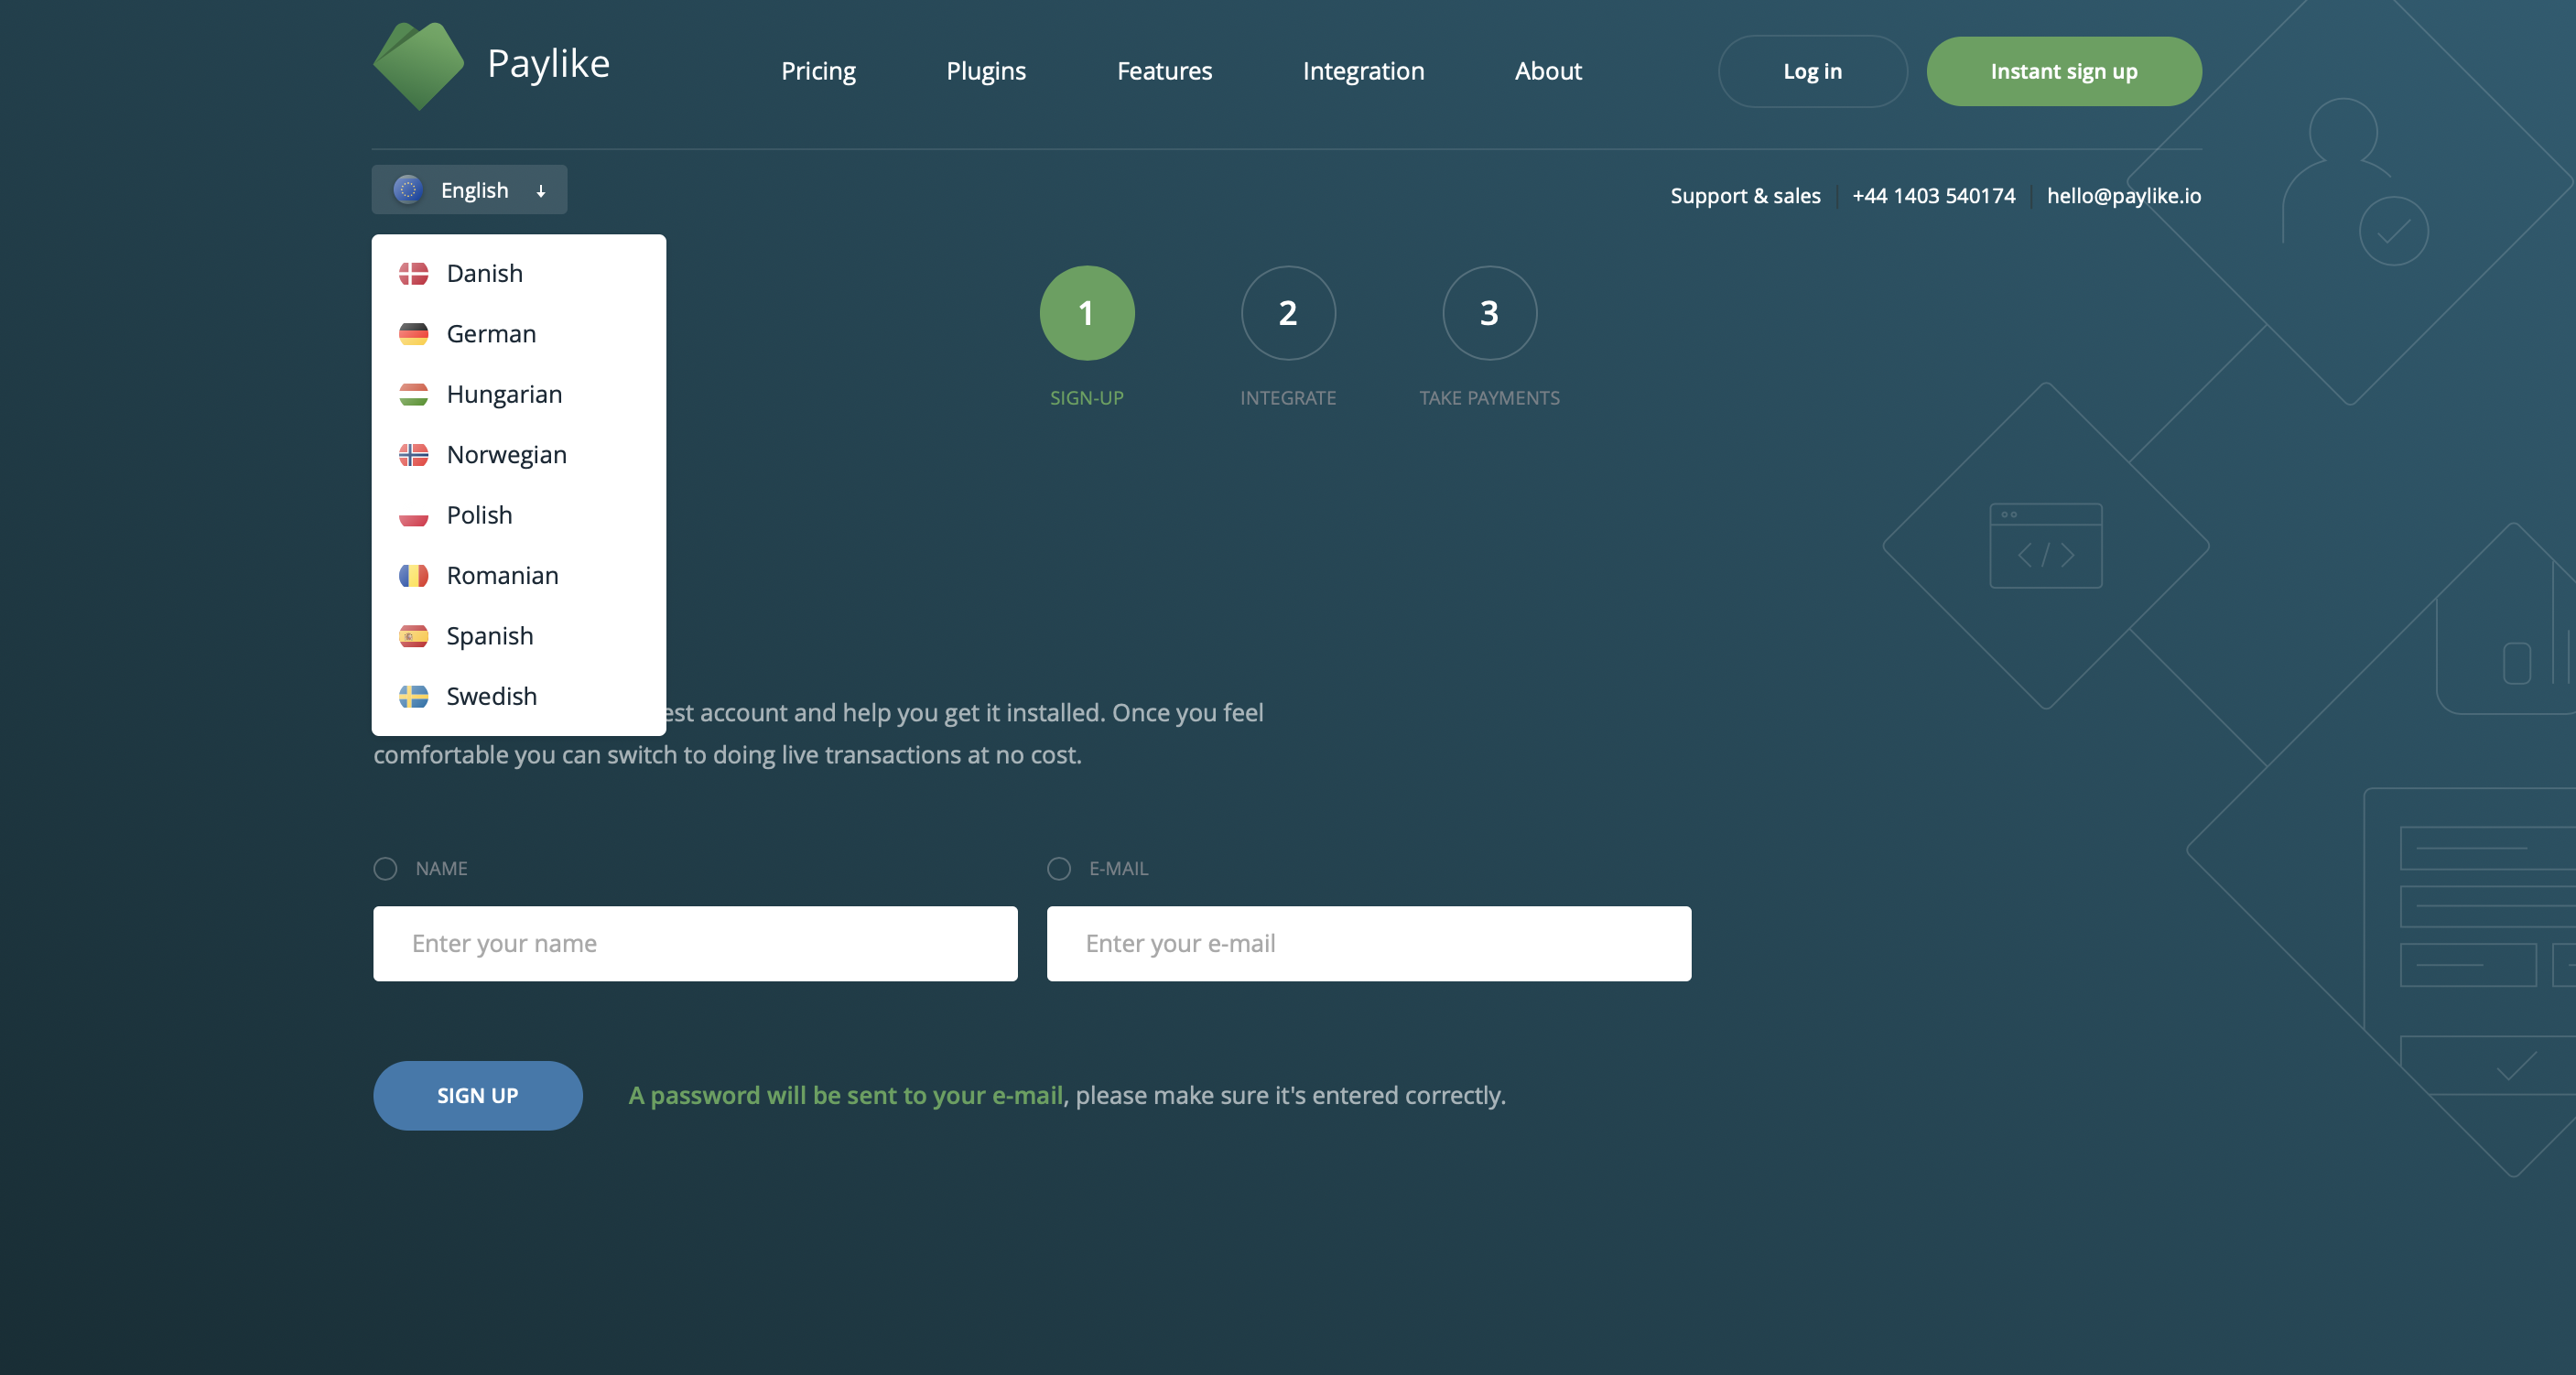
Sign up with Paylike
If you haven’t done so already, head over and sign up with Paylike and create a live account.

-
Set up your osCommerce store and then upload the Paylike payment extension to your osCommerce website
Download the .zip file from releases and extract it. You get a folder called “plugin-oscommerce-0.2”. Inside there is a folder called “upload”. The files in it need to be uploaded to the root of the osCommerce website.
-
In “includes/template_top.php” add the code below anywhere between the head tags.
<?php if ( basename( $PHP_SELF ) == 'checkout_confirmation.php' ) { ?> <script src="https://sdk.paylike.io/3.js"></script> <script src="<?php echo DIR_WS_INCLUDES ?>javascript/paylike.js"></script> <?php } ?> -
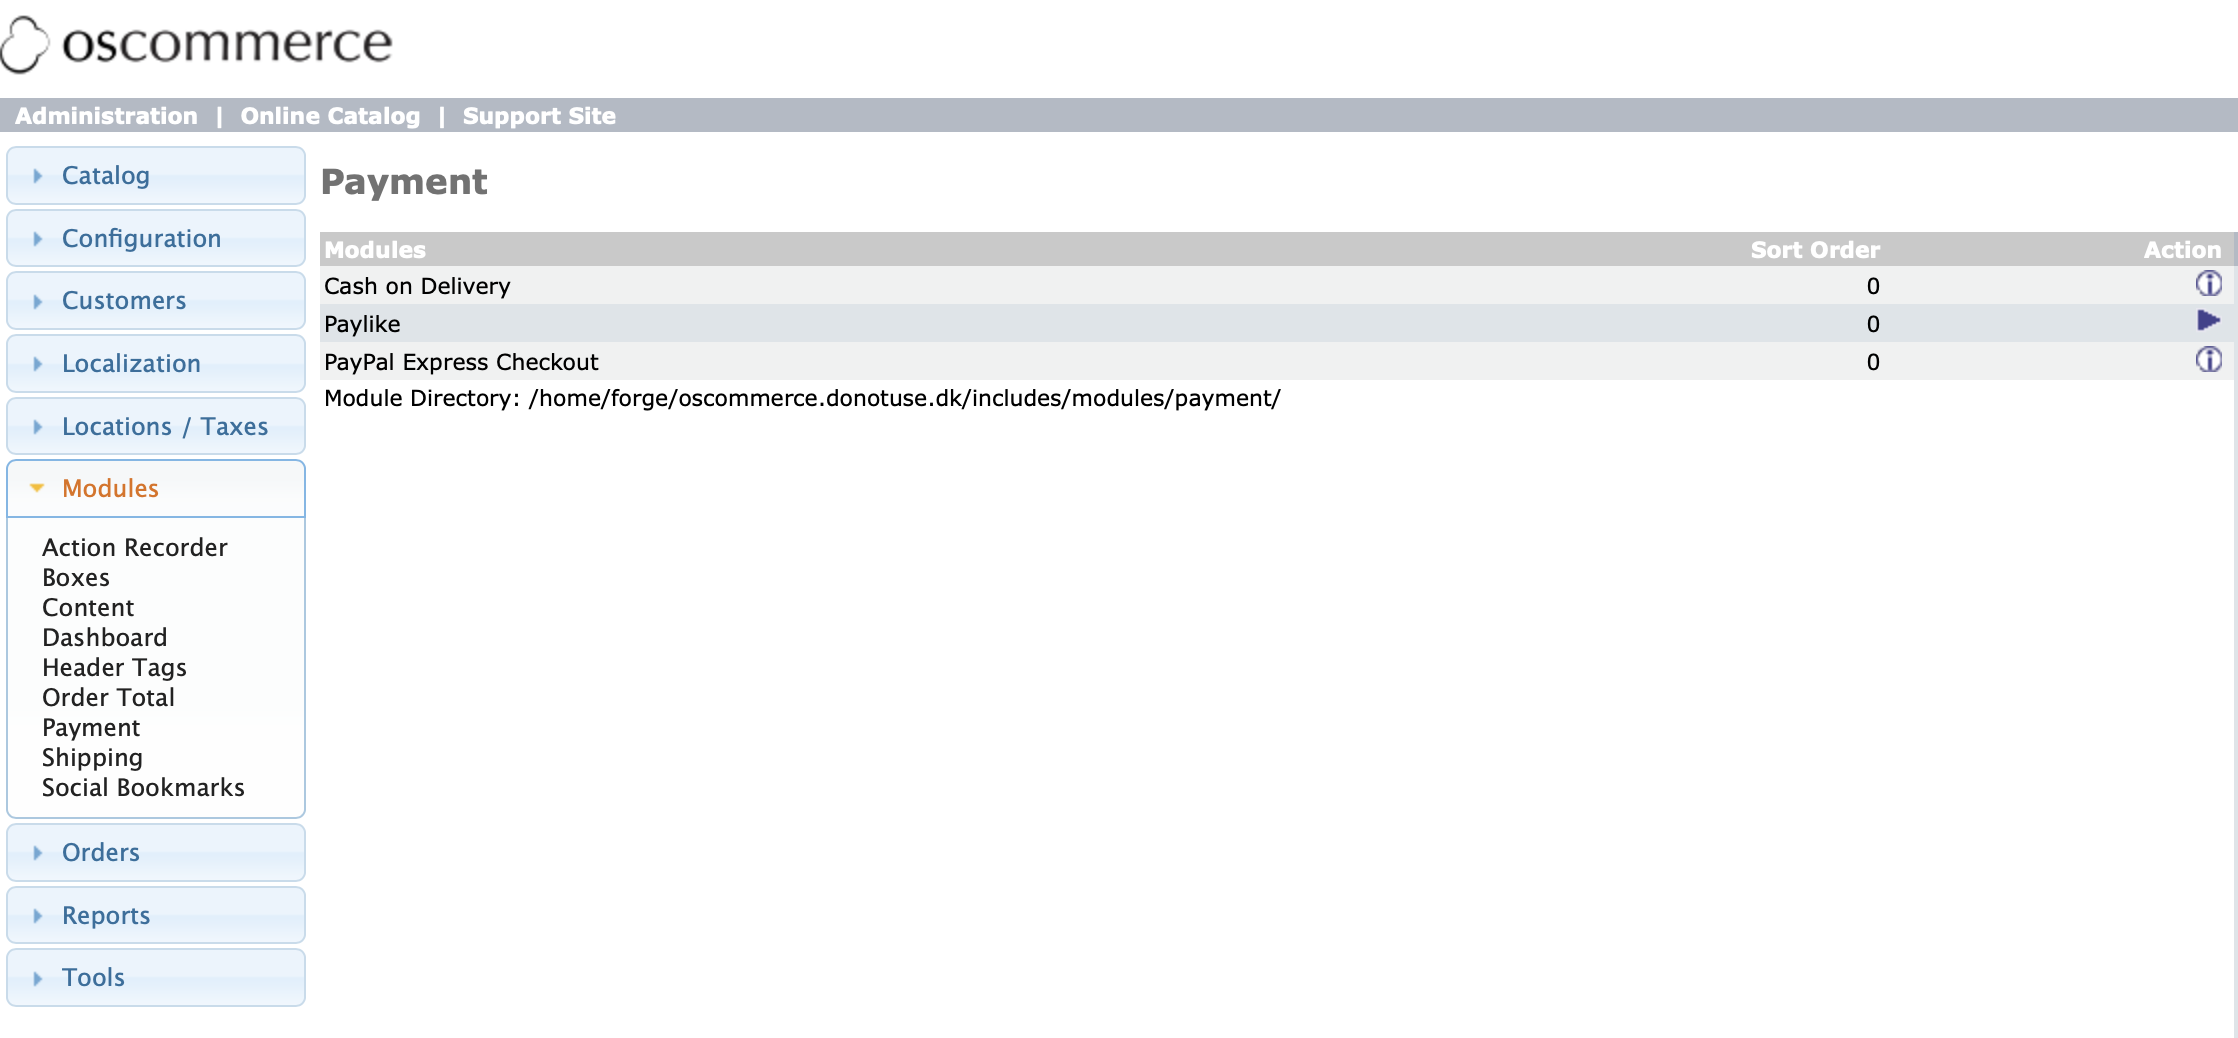
Install the Paylike module
Browse to the Paylike modules and install it from “Modules” -> “Payment” in the admin, menu on the left.

-
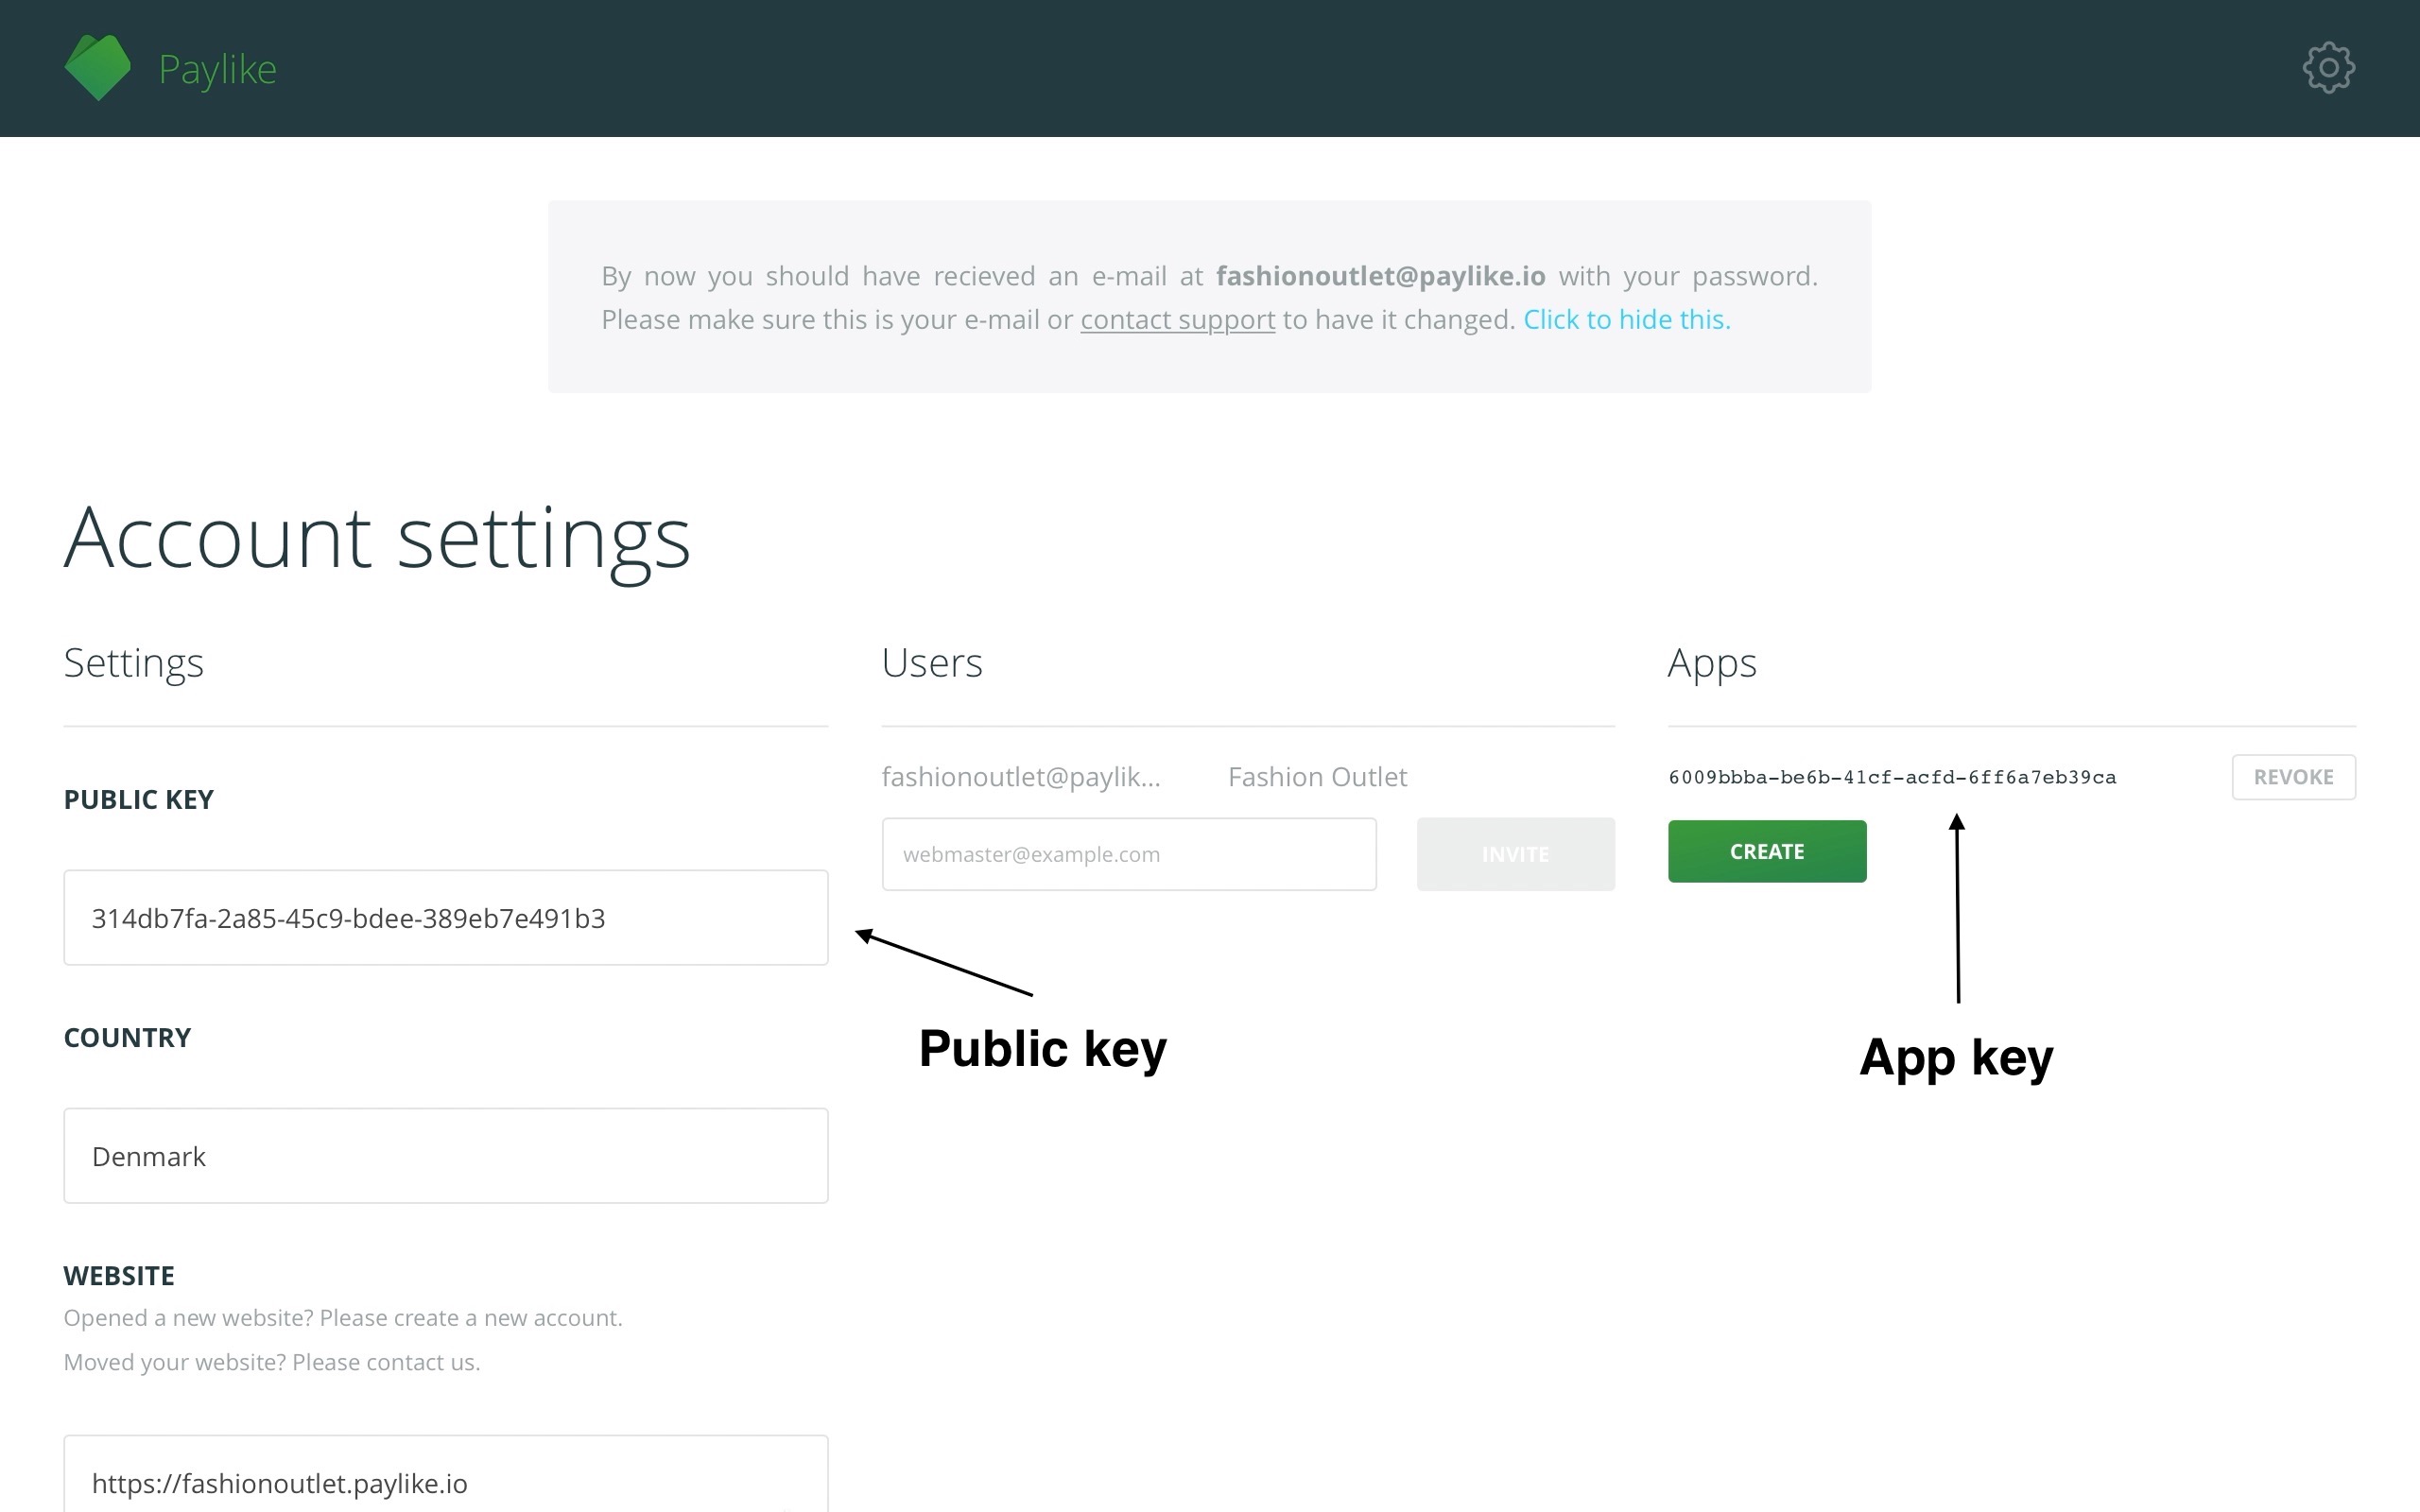
Copy your public key and app key
Copy your public key and app key from the Paylike dashboard.

-
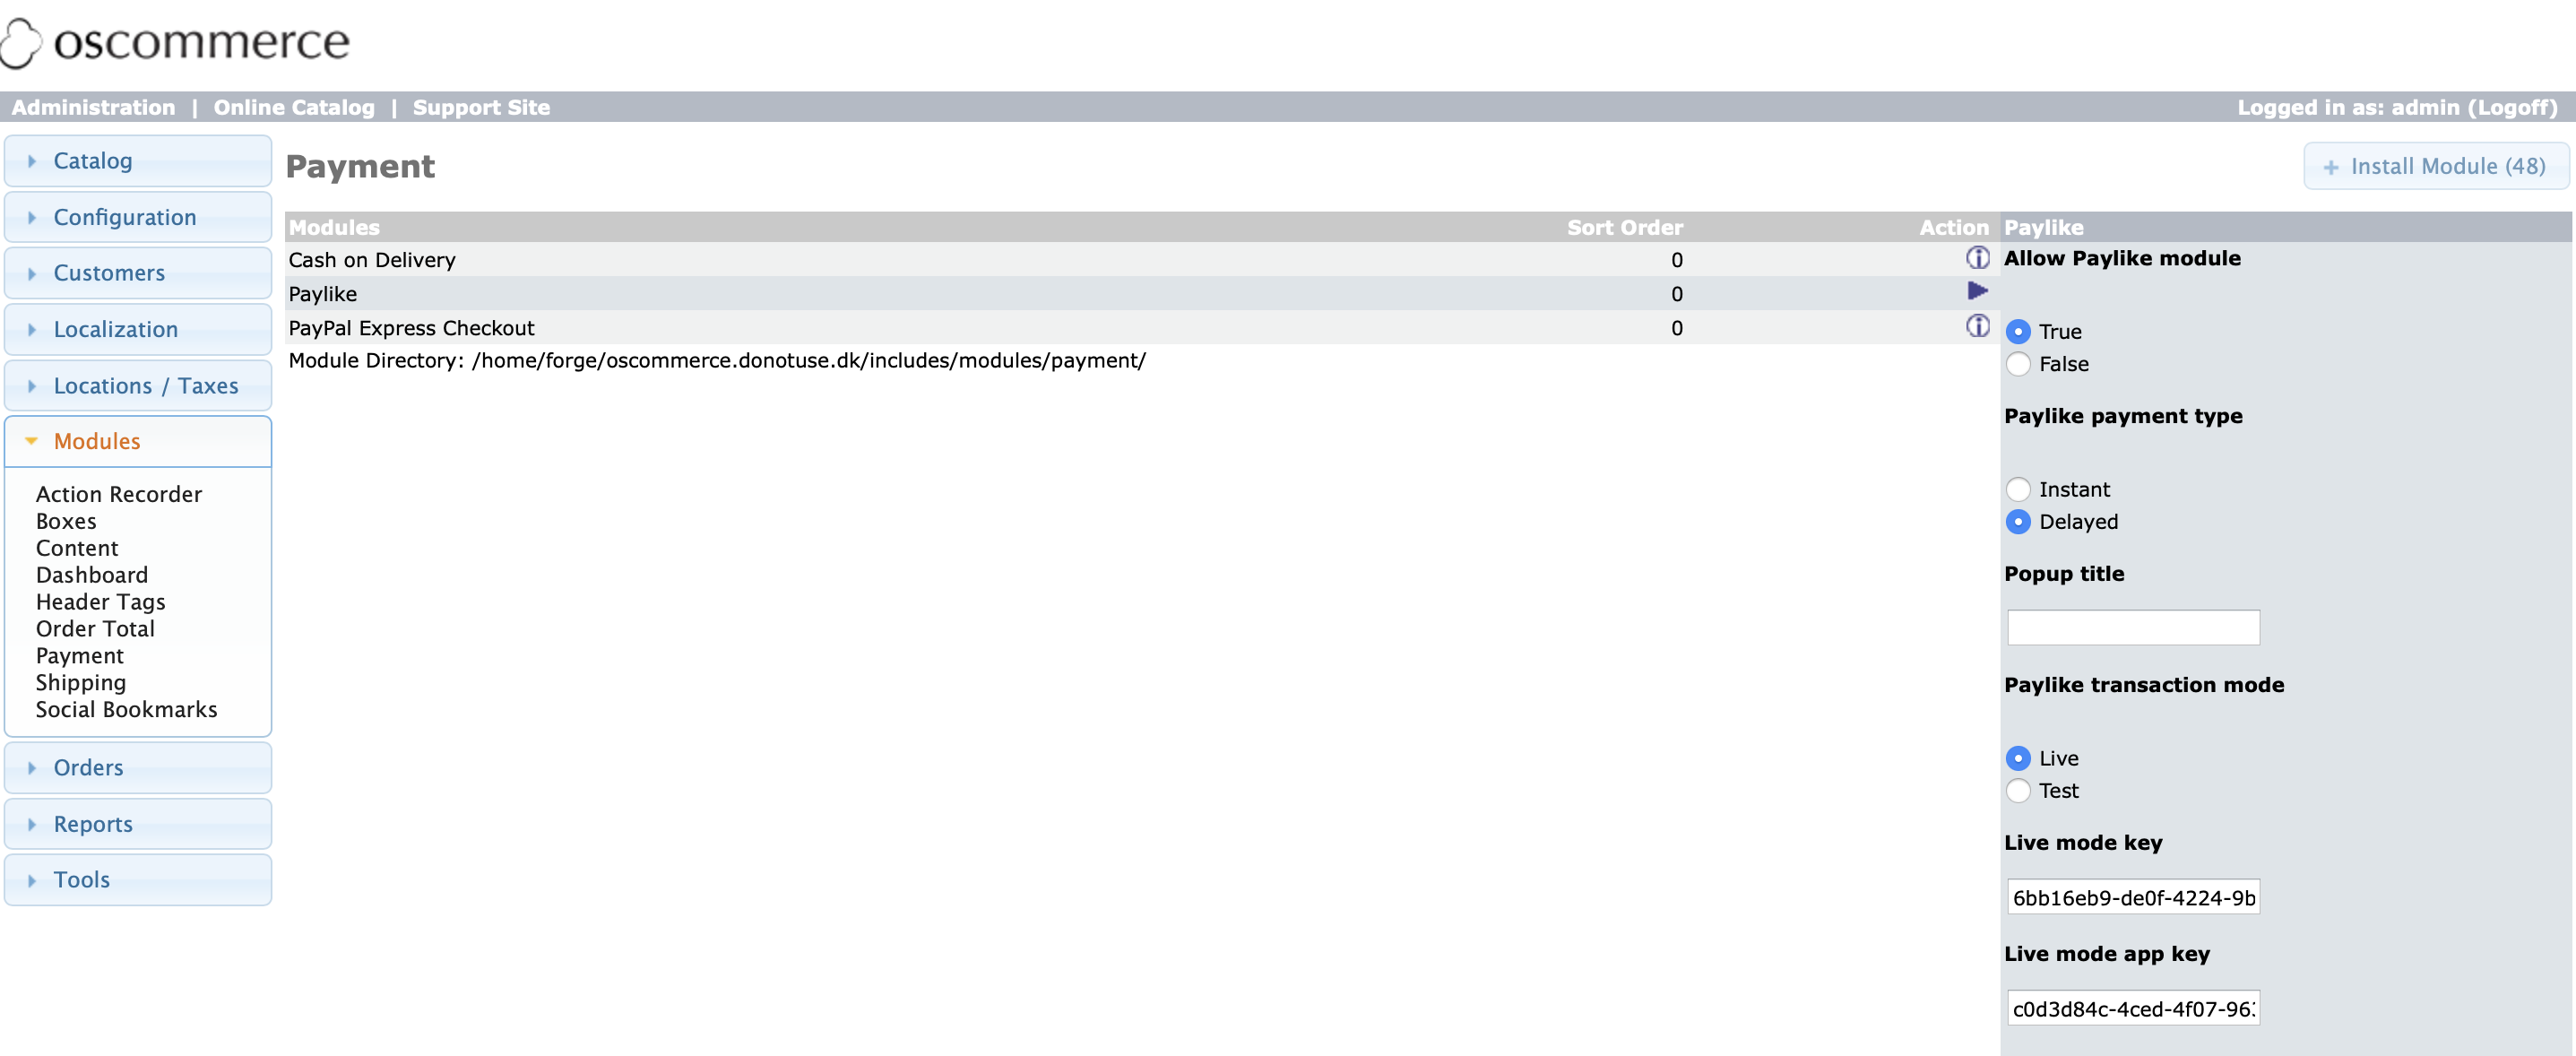
Insert the public key and app key
Insert the app key and your public key in the correct fields in the menu on the right and enable the plugin.

-
Paylike has now been integrated with your osCommerce store
You’re all set. Paylike has now been setup successfully on your website and you are ready to accept payments!
How to use the plugin:
Capture
In Instant mode, the orders are captured automatically. In delayed mode you can capture funds only from the Paylike dashboard.
Refund
To refund an order you can use the Paylike dashboard.
Void
To void an order you can use the Paylike dashboard.
Read more about using the Paylike dashboard here.